VUE AWD V6-3.5L VIN 4 (2004)

clamping force and may damage the fastener. Use the correct tightening sequence and specifications when installing fasteners in order to avoid
damage to parts and systems.
11.
Install new control arm-to-frame rear bolts, P/N 11509671, and nuts, P/N 11516078.
Tighten
Tighten control arm-to-frame rear bolts and nuts to 70 N.m (52 ft-lbs).
IMPORTANT:
Do not install lower control arm rear bushing nuts at this time. The rear bushing nuts should not be installed until vehicle is at normal ride
height. Installing lower control arm rear bushing nuts prior to lowering vehicle to normal ride height may cause premature failure of bushing.
12.
Perform Steps 4 through 11 on opposite side of vehicle before proceeding to next step.
13.
Install the wheel and tire assemblies (both sides). Refer to "Tire and Wheel Removal and Installation" (Document ID # 1219741) in the
Suspension section of the 2004 Saturn VUE Service Manual, Vol. 1.
14.
Lower the vehicle.
15.
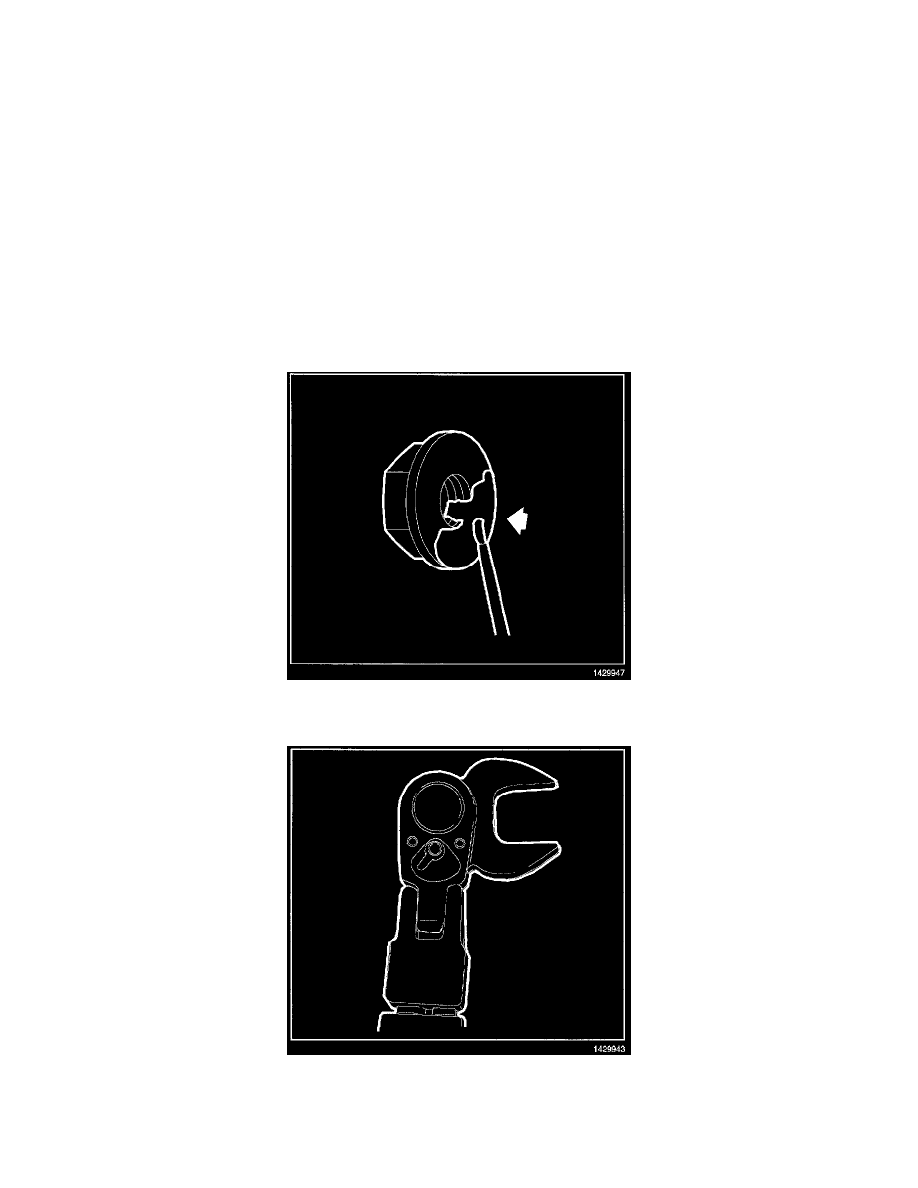
Apply Loctite(TM) 620 Retaining Compound, or equivalent, on the threads as well as the face of the nut that contacts the rear bushing's inner
sleeve.
IMPORTANT:
Vehicle must be lowered with all wheels on the ground when installing and tightening lower control arm bushing nut.
IMPORTANT:
