VUE FWD L4-2.4L Hybrid (2007)

1. Open the liftgate.
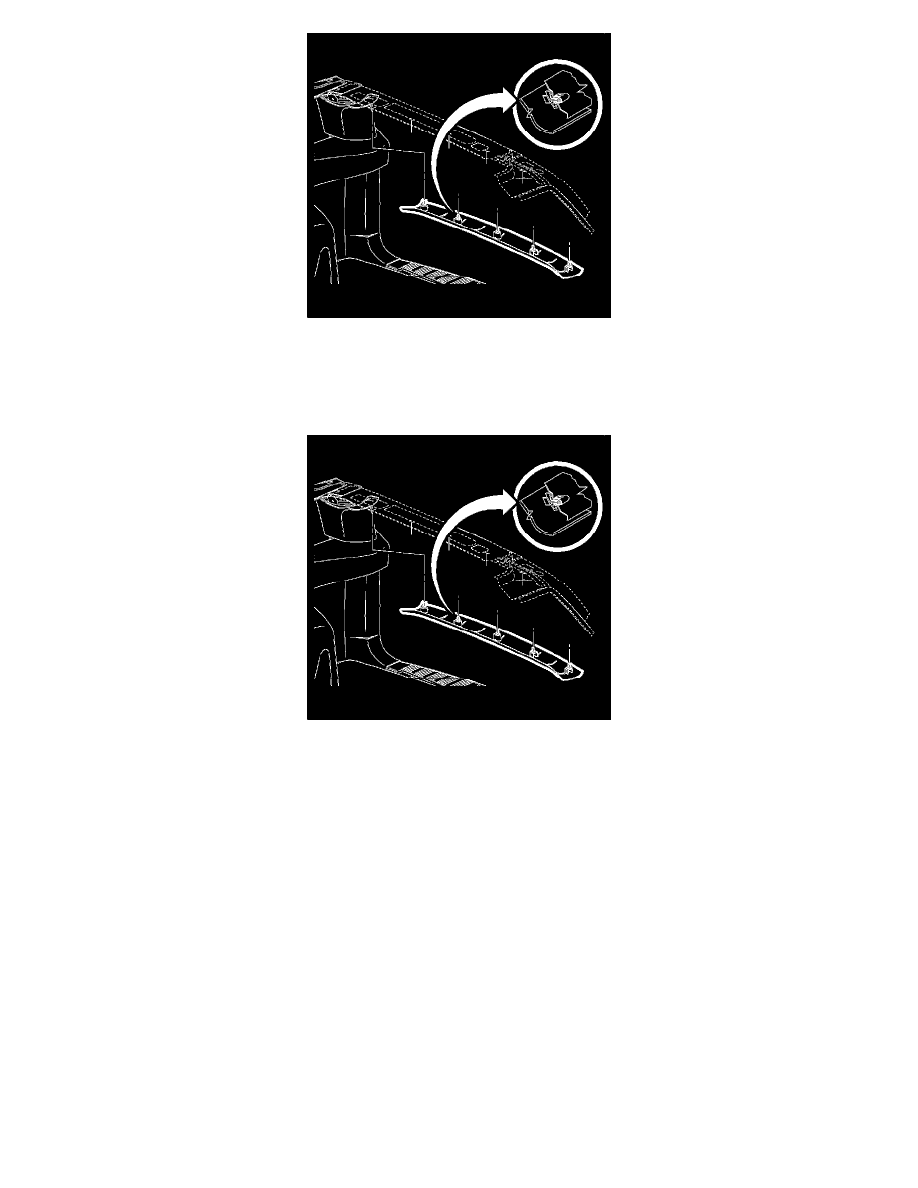
2. Gently pull on the molding to disengage the clips.
3. Remove the molding.
Installation Procedure
1. Position the molding to the vehicle.
2. Snap the molding into place at the clip locations.
3. Close the liftgate.
4. Replace the seat over the trim edge.
Windshield Upper Garnish Molding Replacement
Windshield Upper Garnish Molding Replacement
Removal Procedure
Caution: Use care when working around the roof rail inflator module because sharp objects may puncture the roof rail airbag and the airbag will
not deploy correctly.
In order to avoid personal injury, if any part of the module is damaged replace the entire module
Notice: If a vehicle is equipped with a head curtain inflator module ensure that the inflator module and tether are undamaged. If tether or curtain
airbag are damaged in any way, they must be replaced.
1. Using a small flat-bladed tool, remove the fastener cover from the windshield upper garnish molding, by prying at the bottom edge.
2. Remove the fastener from the garnish molding.
3. Starting at the top, gently pull on the garnish molding to disengage the clips.
4. Remove the molding from the vehicle.
