
VUE FWD L4-2.4L Hybrid (2007)
1.
Verify that the DRLs are not working. If they are not, raise and support the vehicle. Refer to Lifting and Jacking the Vehicle in SI.
Important:
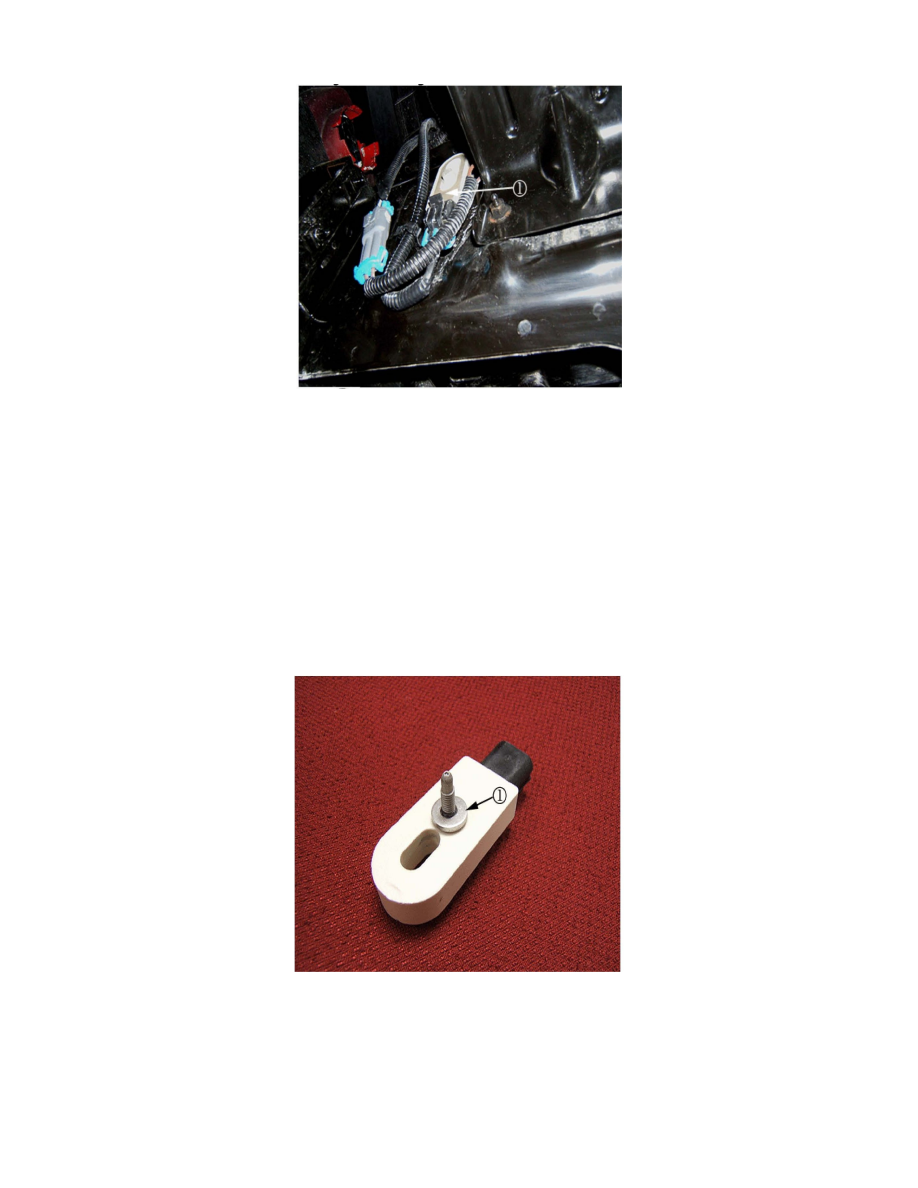
The DRL resistor (1) is located on the left front bumper support and may require cleaning before inspection.
2.
For Chevrolet and Pontiac models, loosen the left front corner of the inner wheel liner to front fascia to gain access to the DRL resistor. Refer to
Front Wheelhouse Liner Replacement in SI.
Saturn models do not require the removal of the left front wheel or inner wheel liner to gain access to the DRL resistor (1).
3.
Use a mirror and light to visually inspect the daytime running lamp resistor for cracks or corrosion.
^
If the resistor is cracked or corroded, the resistor requires replacement. Remove the resistor. Refer to Daytime Running Lamps (DRL) Resistor
Replacement in SI. Proceed to Step 4.
^
If the resistor appears to be in good condition, the vehicle does not have this condition. Follow normal SI diagnostics. Diagnosis and repairs
for any other conditions are not covered under this program.
4.
Install the new DRL resistor assembly to the left front bumper support with the washer (1) between the resistor and bumper support.
5.
Tighten the new DRL resistor bolt.
Tighten
Tighten the DRL resistor bolt to 6 Nm (53 lb in). DO NOT EXCEED 6 Nm (53 lb in).
6.
Connect the DRL electrical connector to the DRL resistor.