
VUE FWD L4-2.4L Hybrid (2007)
5. Disconnect the fuel feed and vent lines from the fuel tank.
Notice: To prevent bending of the sending unit float arm during removal, lift the pump module up slightly to disengage the orientation tabs in the
tank and rotate the module 45 degrees.
6. Remove the primary fuel pump module assembly.
Important: Always replace the fuel pump module-to-tank seal, O-ring, when the fuel pump module is removed.
7. Discard the fuel pump module-to-tank seal.
8. If the fuel level sending unit is being replaced, remove the primary fuel level sender. Refer to Fuel Level Sensor Replacement (Primary) Fuel
Level Sensor Replacement (Secondary).
Important:
*
Some lock rings were manufactured with "DO NOT REUSE" stamped into them. These lock rings may be reused if they are not
damaged or warped.
*
Inspect the lock ring for damage due to improper removal or installation procedures. If damage is found, install a NEW lock ring.
*
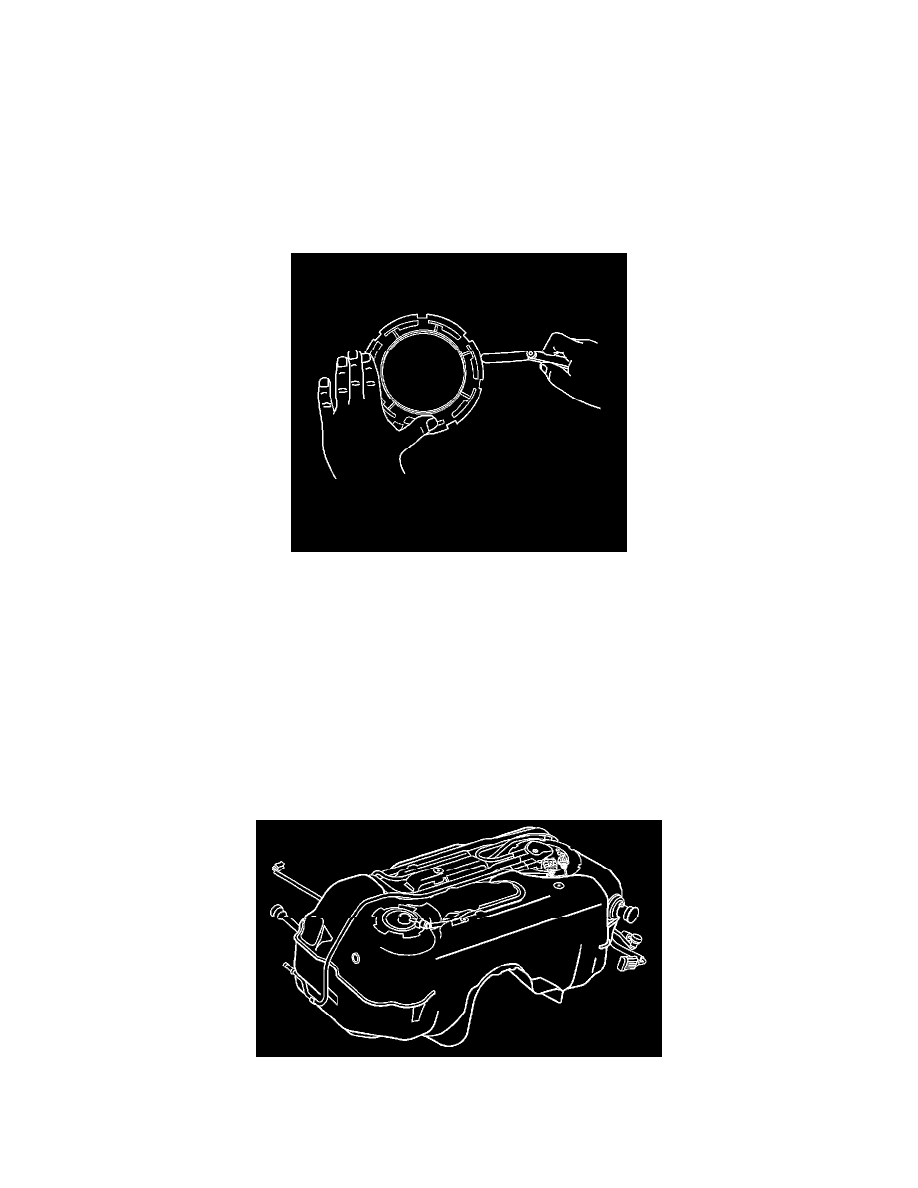
Check the lock ring for flatness.
Place the lock ring on a flat surface. Measure the clearance between the lock ring and the flat surface using a feeler gage at 7 points.
9. If warpage is less than 0.41 mm (0.016 in), the lock ring does not require replacement.
10. If warpage is greater than 0.41 mm (0.016 in), the lock ring must be replaced.
Installation Procedure
1. If the fuel level sending unit is being replaced, install the primary fuel level sending unit onto the new fuel pump. Refer to Fuel Level Sensor
Replacement (Primary) Fuel Level Sensor Replacement (Secondary).
2. Insert the new primary fuel pump module assembly with the level sender and the new fuel pump-to-tank seal. Ensure the orientation tabs are
aligned.