
VUE FWD L4-2.4L Hybrid (2007)
Important:
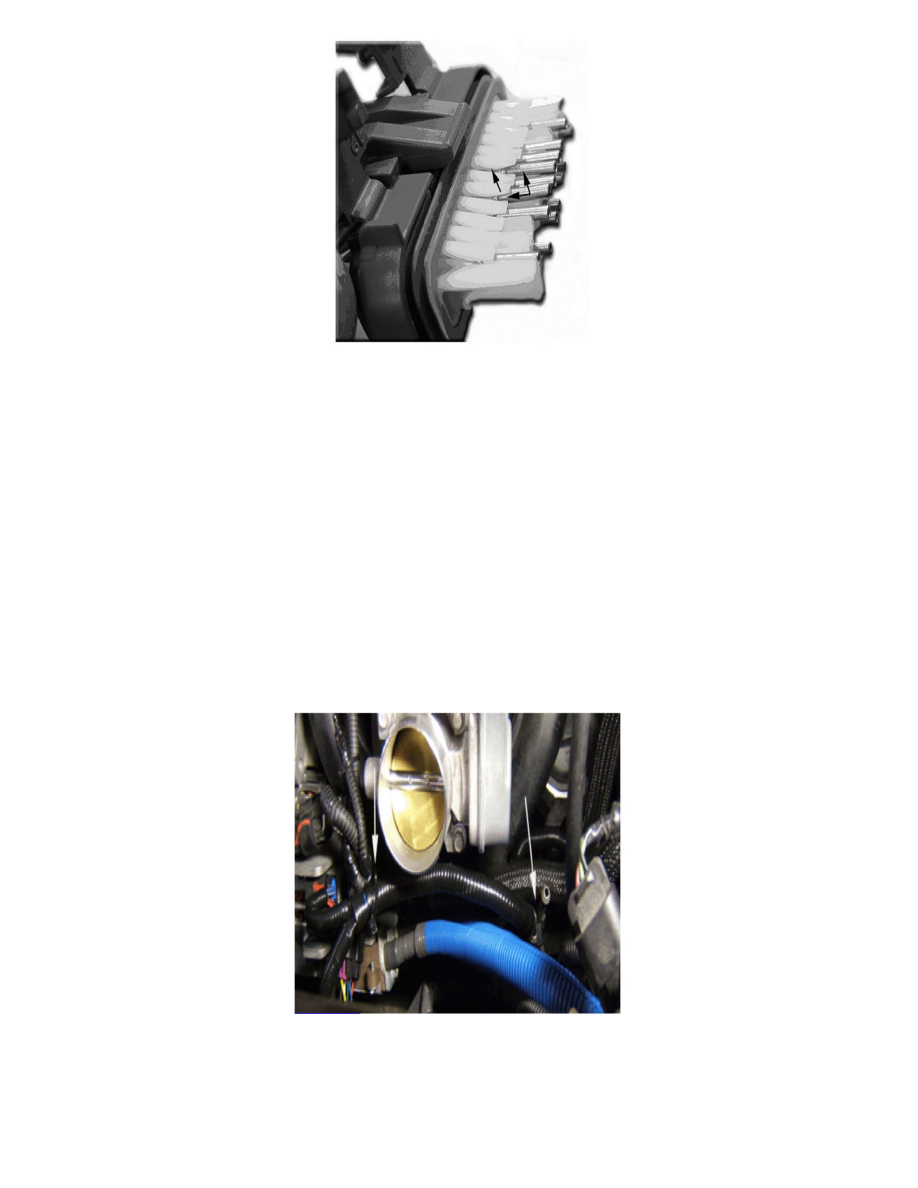
Make sure the four circuits listed above are NOT cut.
3.8.
Cut off the remaining circuits just after the connector (C2). This will leave approximately 51 mm (2 in) remaining from the main bundle to
the end of the stub.
3.9.
Tape the end of the wires (stub) with high temperature electrical tape.
3.10. Tie-strap the stub to the engine harness.
Important:
When installing the circuits into the new SGCM connector, do not twist or wrap the wires. This can cause the wiring to become too tight.
3.11. Install the four circuits (1, 3, 8, and 21) into the SGCM C2 connector of the wiring harness jumper. Be careful not to bend the terminals.
After installing the four circuits into the new connector, replace the clear connector cover.
3.12. Install conduit over the four circuits and tape in place. Start the conduit at the main bundle to ensure all of the wiring is covered.
3.13. Reconnect the SGCM C1 and C2 connectors.
3.14. Route the wiring harness jumper under the brake vacuum hose, coolant hose, and main engine harness bundle and then back up and over to
the MGU. Refer to the diagram.
Important:
DO NOT cut the 8-way connector at the MGU.
3.15. Remove both MGU (10-way resolver and 7-way field and thermistor) connectors and connect the new MGU connectors from the jumper