
VUE FWD V6-3.5L (2008)
5. Remove the J 29113 from the crankshaft.
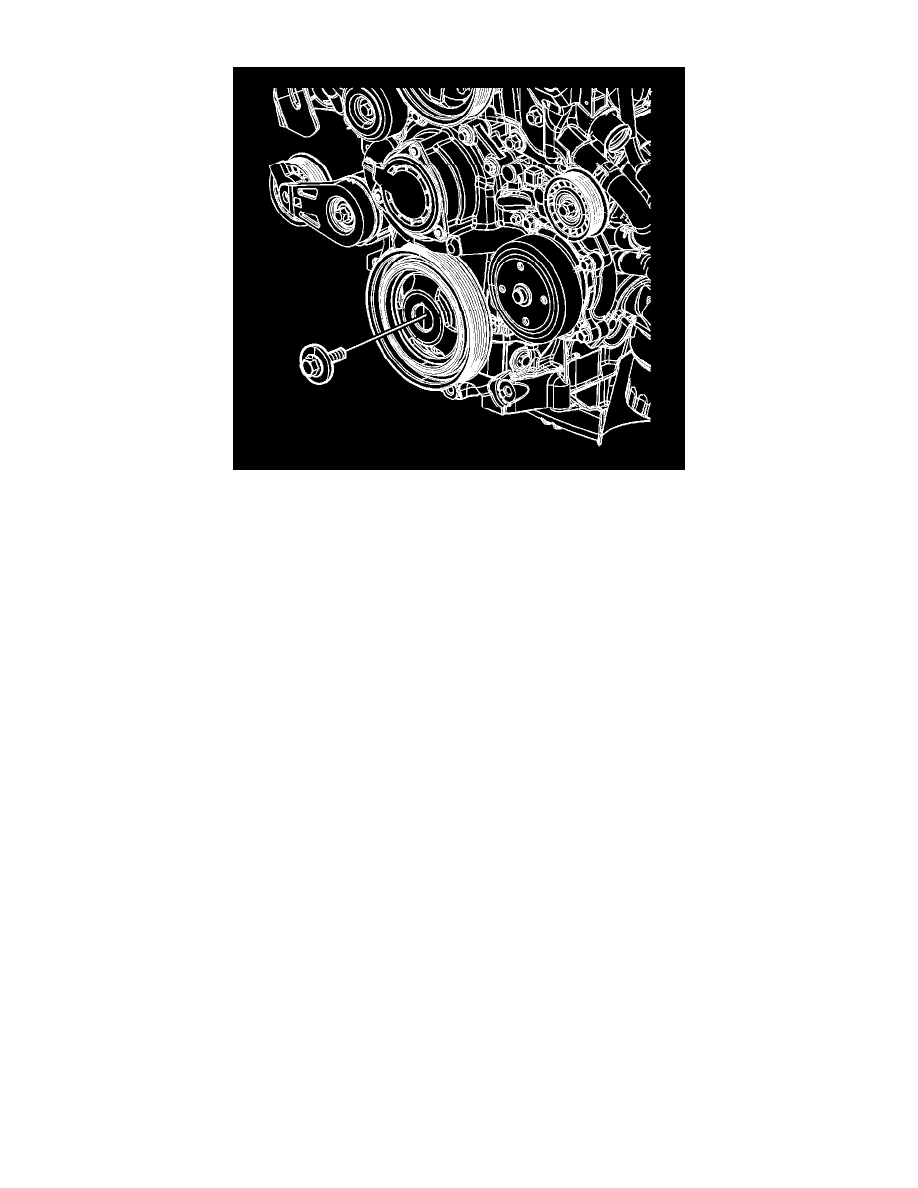
6. Install the crankshaft balancer washer and the bolt.
Notice: Refer to Fastener Notice (See: Service Precautions/Vehicle Damage Warnings/Fastener Notice) .
7. Install the used crankshaft balancer bolt.
Tighten the used crankshaft balancer bolt to 125 N.m (92 lb ft).
8. Remove the used crankshaft balancer bolt.
9. Install the NEW crankshaft balancer bolt.
1. Tighten the crankshaft balancer bolt a first pass to 125 N.m (92 lb ft).
2. Tighten the crankshaft balancer bolt a final pass to 130 degrees using the J 45059 .
10. Remove the J 37096 from the flywheel.
11. Install the torque converter covers.
12. Raise the frame into the original position.
13. Install and tighten the right and left side frame bolts.
Tighten the bolts to 100 N.m (74 lb ft) plus an additional 90 degrees using the J 45059 .
14. Install the right engine splash shield. Refer to Engine Splash Shield Replacement (See: Body and Frame/Splash Guard/Service and Repair) .
15. Install the right front tire and wheel. Refer to Tire and Wheel Removal and Installation (See: Maintenance/Wheels and Tires/Service and Repair) .
16. Lower the vehicle.
17. Install the drive belt. Refer to Drive Belt Replacement (See: Drive Belts, Mounts, Brackets and Accessories/Drive Belt/Service and Repair) .