
VUE FWD V6-3.5L (2008)
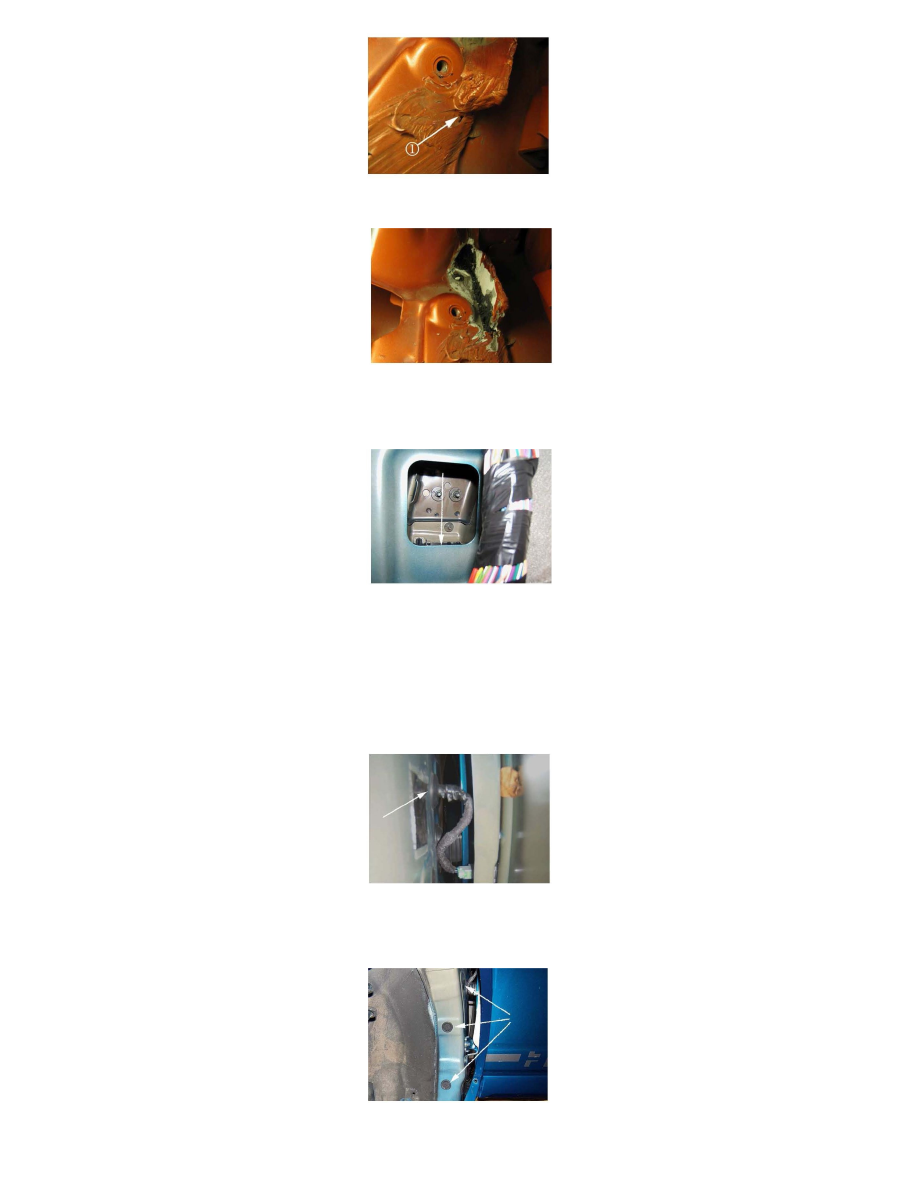
4. Inspect the sealing material in the outer joint area for bubbles (seal area spongy to the touch) and/or porosity (1).
5. Remove all of the foam and sealer using a utility knife and gasket scraper.
6. Reseal the area thoroughly using * Kent High Tech Seam Sealer Part # P10200.
7. Water test the vehicle. It is important to note that when water testing, the leaks may not be easily seen. The lower hinge pillar acts as a well and
collects water. Water will not leak into the foot well area until it fills the lower hinge pillar. It is important to inspect this area carefully to ensure it is dry.
8. If the area continues to leak, proceed to the next step. If the leak is corrected, proceed to step # 17.
9. Remove the front wheelhouse liner. Refer to Front Wheelhouse Liner Replacement in SI.
10. Remove the foam hinge pillar insulator.
11. Remove the side marker lamp grommet from the front body hinge pillar.
12. Apply * Kent High Tech Seam Sealer Part # P10200 to the perimeter of the grommet. Reinstall the grommet.
13. Remove the three plastic plugs from the front body hinge pillar.