
VUE FWD V6-3.6L Hybrid (2009)
Caution: Refer to Fastener Caution (See: Service Precautions/Vehicle Damage Warnings/Fastener Caution).
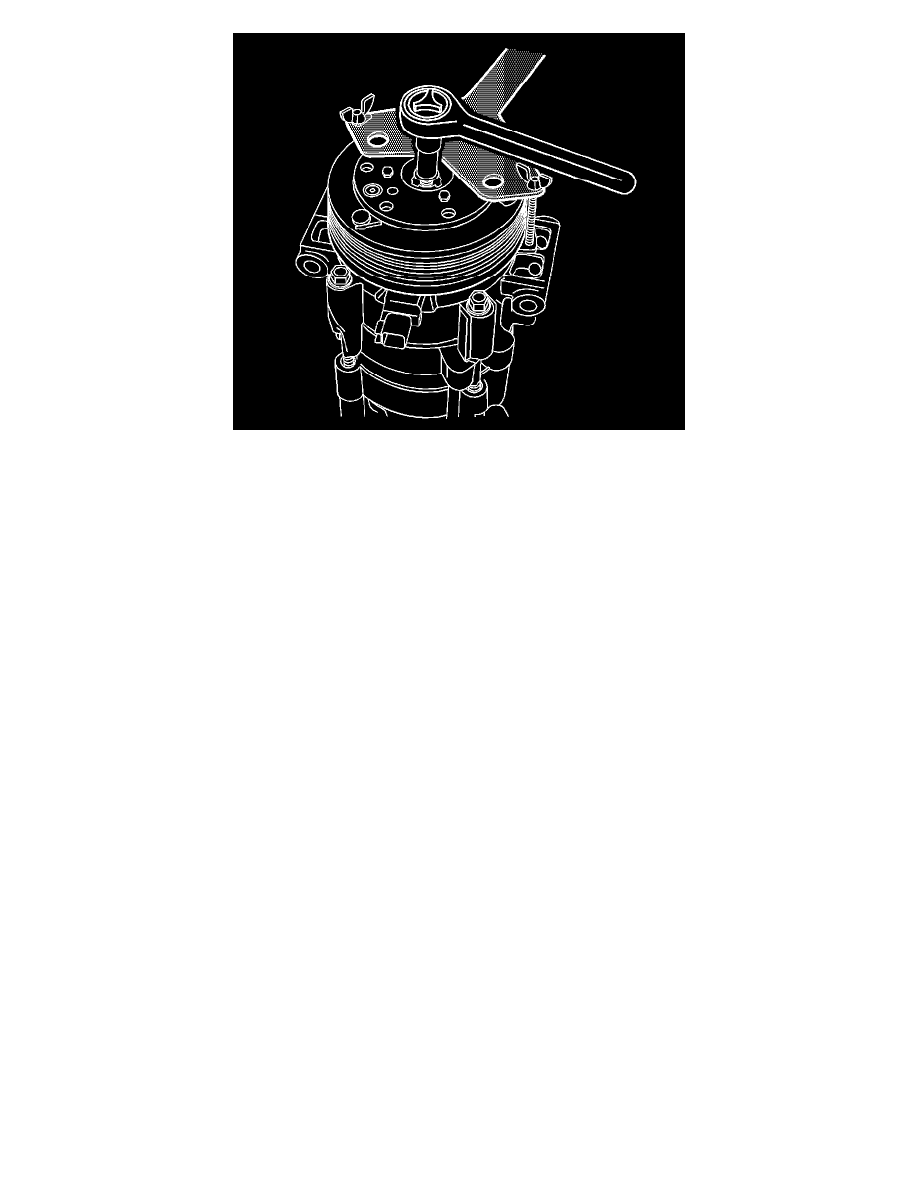
9. Once the correct air gap is obtained, install a new clutch bolt. Use SA9510AC to hold the disk and hub assembly while tightening.
Tighten the nut to 12 Nm (106 lb in).
10. Install the compressor. Refer to Air Conditioning Compressor Replacement (HP5) (See: Service and Repair)Air Conditioning Compressor
Replacement (LY7) (See: Service and Repair)Air Conditioning Compressor Replacement (LZ4) (See: Service and Repair)Air Conditioning
Compressor Replacement (LAT, LE5) (See: Service and Repair).
11. Evacuate and charge the A/C system. Refer to Refrigerant Recovery and Recharging (With HP5) (See: Service and
Repair/Procedures/Refrigerant Recovery and Recharging)Refrigerant Recovery and Recharging (Without HP5) (See: Service and
Repair/Procedures/Refrigerant Recovery and Recharging).
12. Test the affected A/C joints for leaks using J 39400-A .