
VUE FWD V6-3.6L Hybrid (2009)
Caution: Refer to Fastener Caution (See: Service Precautions/Vehicle Damage Warnings/Fastener Caution).
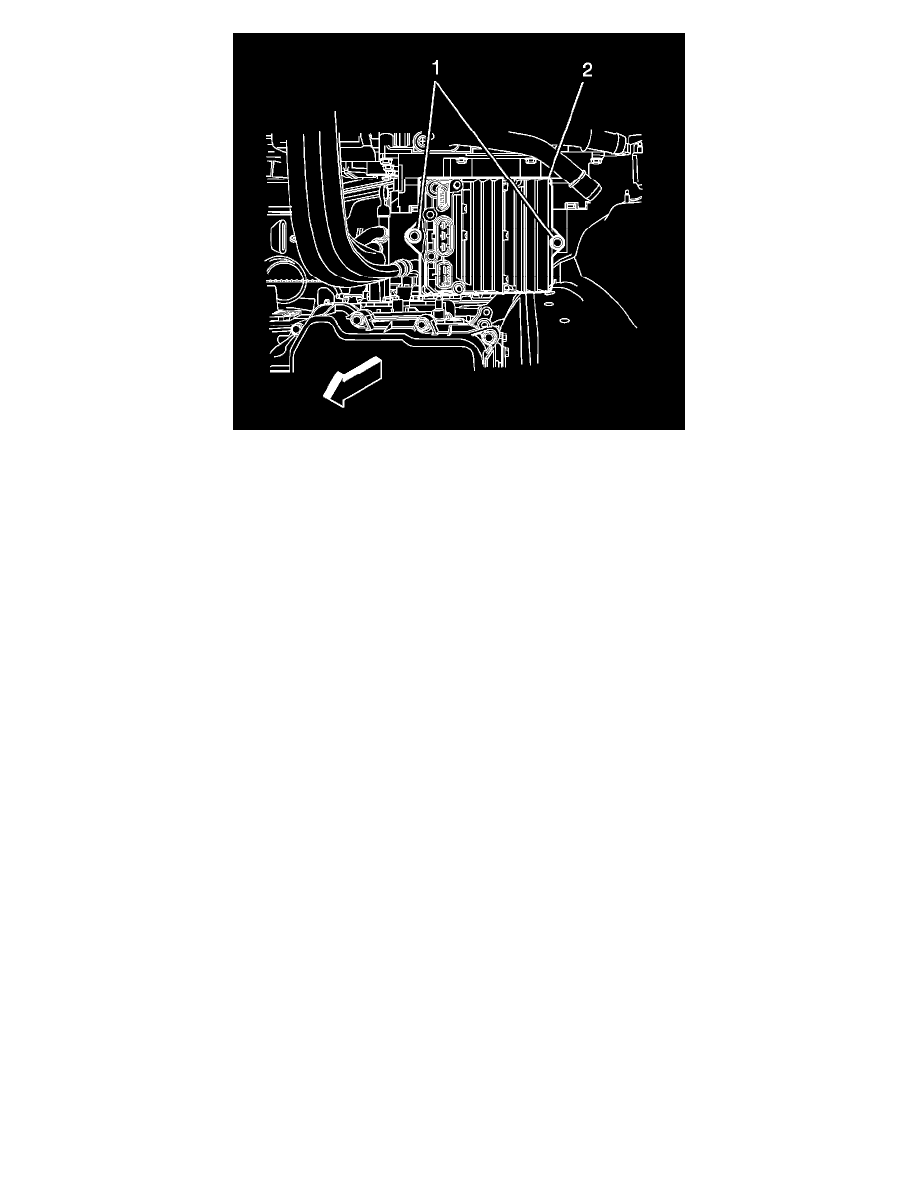
1. Install the module (2) to the mounting plate, then tighten the fasteners to 10 Nm (8 lb ft).
2. Install the accessory DC power control module mounting plate.
3. Connect the three electrical connectors to the auxiliary fluid pump control module.
4. Install the power inverter module. Refer to Drive Motor Generator Power Inverter Module Removal and Installation (See: Hybrid Drive
Systems/Power Control System/Drive Motor Control Module/Service and Repair/Drive Motor Generator Power Inverter Module Removal and
Installation).
5. Install the drive motor generator control module sight shield. Refer to Drive Motor Generator Power Inverter Module Cover Replacement (See:
Hybrid Drive Systems/Power Control System/Drive Motor Control Module/Service and Repair/Drive Motor Generator Power Inverter Module
Removal and Installation).
6. Enable the hybrid high voltage system. Refer to High Voltage Enabling (See: Hybrid Drive Systems/Battery System, Hybrid Drive/Testing and
Inspection/High Voltage Enabling).
7. Connect the 12-volt battery negative cable. Refer to Battery Negative Cable Disconnection and Connection (HP5) (See: Starting and
Charging/Battery/Battery Cable/Service and Repair).
Auxiliary Fluid Pump Control Module Replacement
Auxiliary Fluid Pump Control Module Replacement