Leon Mk2
| Clutch: Assembly overview |

| 1 - | Flywheel |
| q | Removing and fitting → Rep. gr.13 |
| q | Ensure that centring pins are correctly seated |
| q | The clutch lining contact surface must be free of grooves, oil and grease |
| 2 - | Clutch plate |
| q | removing and fitting → Chapter |
| q | Diameter of clutch plate, according to → Spare parts catalogue |
| q | Installation location: the inscription „Getriebeseite“ should face the gearbox |
| 3 - | Thrust pad |
| q | removing and fitting → Chapter |
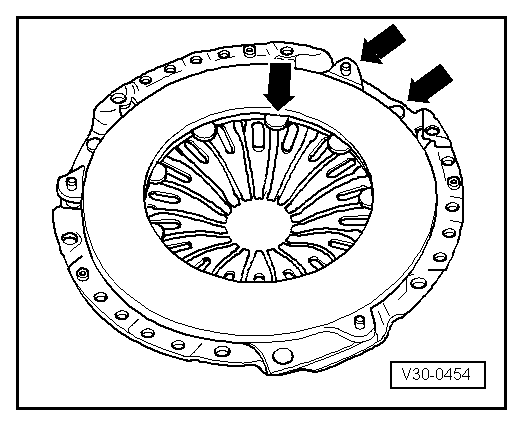
| q | Check the ends of the diaphragm → Fig. |
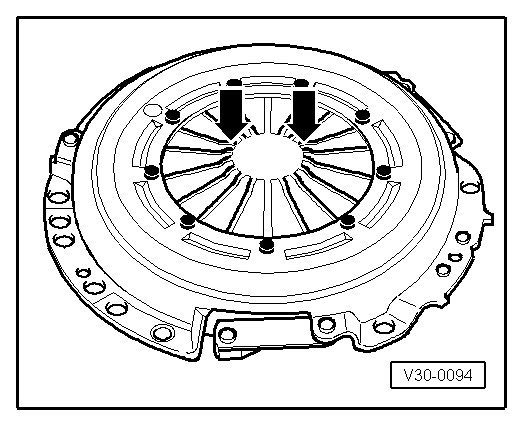
| q | Checking spring connection and rivets → Fig. |
| 4 - | 20 Nm |
| q | Slacken and tighten diagonally in stages |
| q | For correct version, refer to → Electronic spare parts catalogue |
 Note
Note
|
|