
Leon Mk2
|
 Note
Note
|
|
|
|
|
|
|
|
|
|
|

|
|
|
|
|
|
|

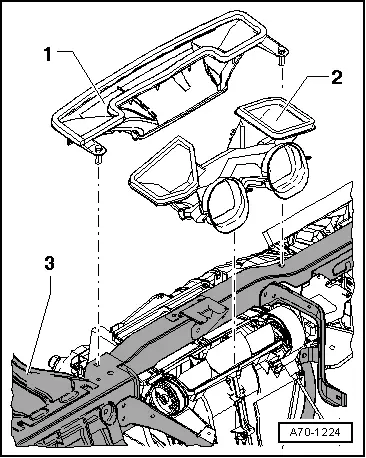
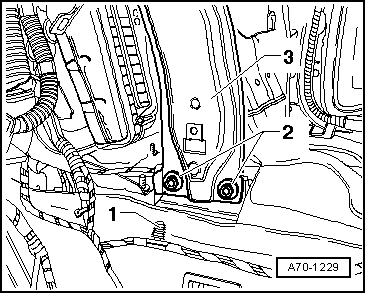
| – | Loosen the screws -1- (2x) and remove the wiring guide -2-. |
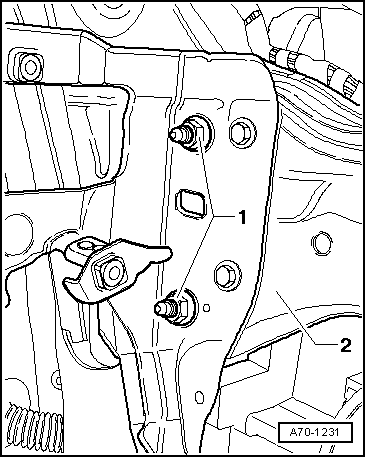
| – | Unscrew the screws -6- (2x). |
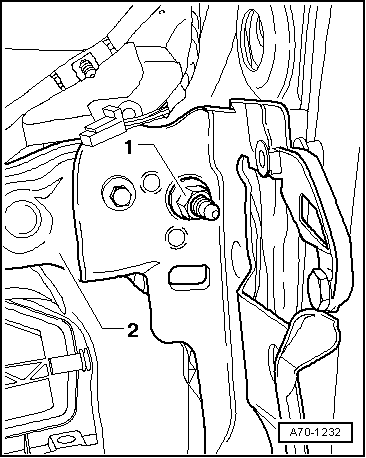
| – | Loosen the screws -4- (2x) and remove the wiring guide -5-. |
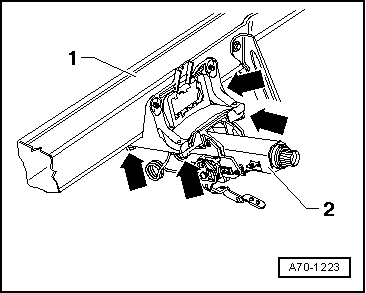
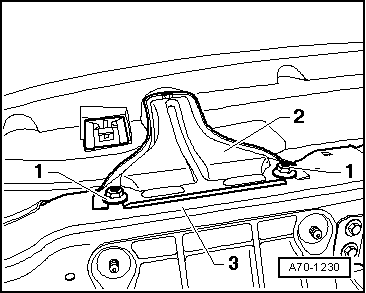
| – | Remove cross member -3-. |
Note
|