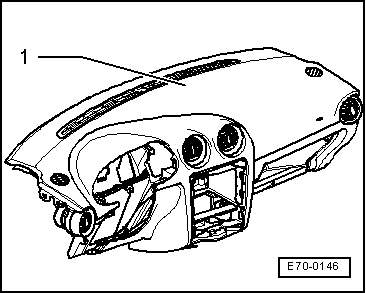
| Instrument panel: removing |

WARNING | Before working on the electrical system, disconnect the battery earth strap. |
|

Note | t
| When the battery is reconnected, check the vehicle equipment (radio, clock, window risers), following the indications in the Workshop Manual and/or the Operating Instructions. |
| t
| Removal and assembly will be carried out taking into consideration small differences depending on the vehicle's equipment. |
| t
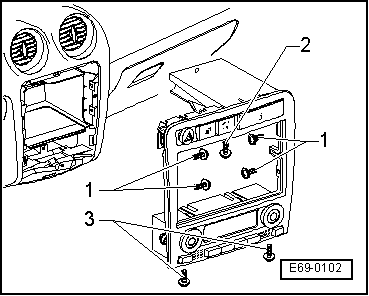
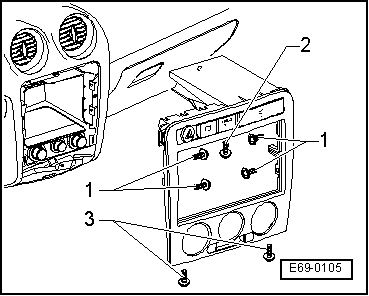
| Pay attention to coding (obtain as necessary) for vehicles with coded radio/radio navigation system (RNS). |
| –
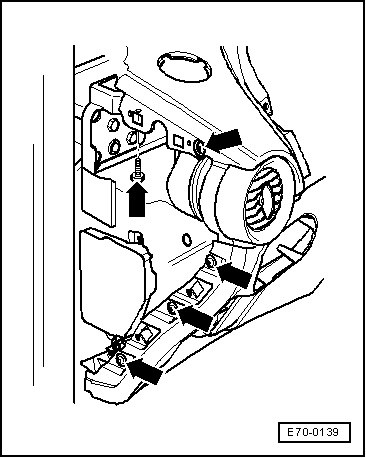
| Remove upper linings from struts A → Chapter. |
| –
| Remove the footwell cover on the driver's side → Chapter. |
| –
| Remove the footwell area cover, passenger's side. → Chapter |
| –
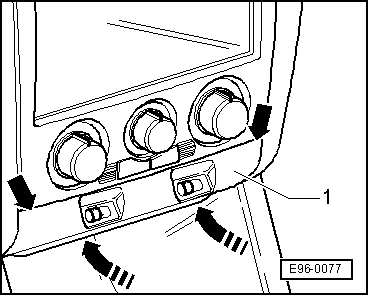
| Remove the glove compartment cover → Chapter. |
| –
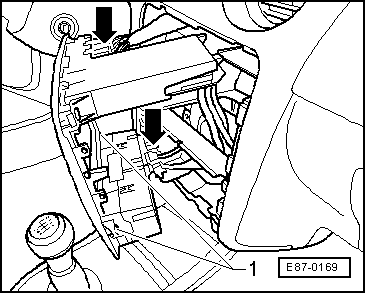
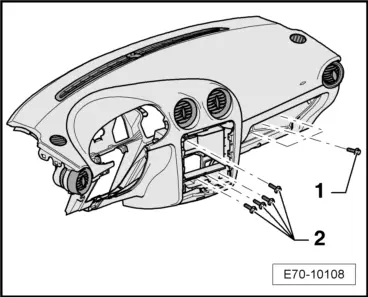
| Remove airbag unit, passenger side → Chapter. |
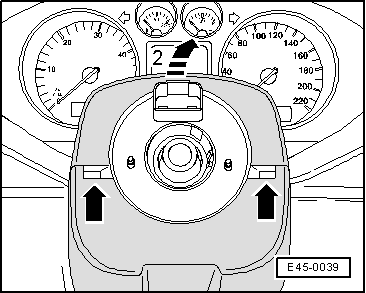
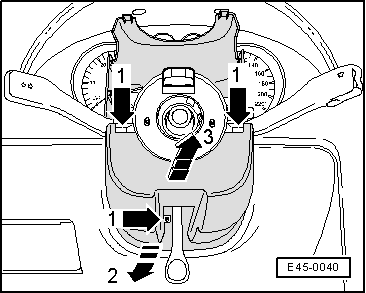
| –
| Remove airbag unit, driver's side → Chapter. |
|
|
|