seat Workshop Repair Guides

SEAT Workshop Service and Repair Manuals

Removing and installing floor covering > < D-pillar trim: Assembly overview
Removing and installing the D-pillar trim
Special tools and workshop equipment required
   
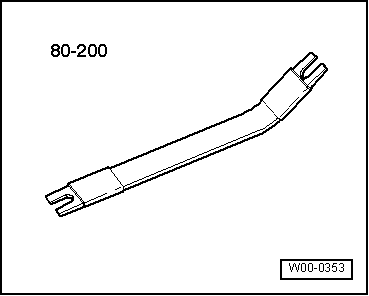
t  Lever -80 200-
Removal:
  Note
The procedures for removal and installation work described below correspond to the D-pillar trim on the left side. The procedures for working on the D-pillar trim on the right side are similar.
  WARNING
Observe safety regulations for pyrotechnic components → Chapter.
–  Partially remove the trim of the luggage compartment on the respective side:
t  Right side trim: Removing and installing → Chapter.
t  Left side trim: Removing and installing → Chapter.
–  Remove the roof end trim → Chapter.
  W00-0353
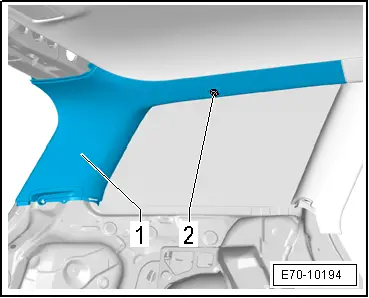
–  Unscrew the bolt -2-.
–  Unhinge the C-pillar trim -1- from the body using the lever -80 200- and remove.
Installation
  WARNING
t  Observe safety regulations for pyrotechnic components → Chapter.
t  Take care not to trap curtain airbag when fitting D-pillar trim.
Reassembly is carried out in the reverse order; note the following:
  Note
t  If there are still trim clips in the body mounting points, they must be removed and inserted in the trim when installing.
t  Check clips for damage or deformation and renew if necessary.
–  First apply D-pillar trim to centring pin and then press on until it engages audibly.
–  Fit rubber lip of luggage compartment seal over edge of trim.
  E70-10194

Removing and installing floor covering > < D-pillar trim: Assembly overview