seat Workshop Repair Guides

SEAT Workshop Service and Repair Manuals

Removing and installing dash panel trim (driver's side), ?Style? > < Removing and installing dash panel cover on driver's side
Removing and installing dash panel trim (driver's side), „Reference“
Special tools and workshop equipment required
   
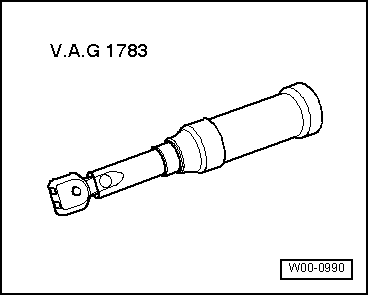
t  Torque wrench -V.A.G 1783-
  Note
For greater clarity, steering wheel is not shown in figure. Its removal is not necessary.
Removal
  W00-0990
–  Switch off ignition.
–  Remove side dash panel cover on driver side → Chapter.
–  Press light switch -E1- forwards and turn to right until it is vertical. Withdraw and disconnect cable harness → Electrical system; Rep. gr.96.
–  Release locking lever of steering wheel positioner.
–  Remove middle dash panel trim → Chapter.
–  Remove centre console: → Chapter.
–  Remove lower A-pillar trim → Chapter.
–  Remove bolts -1- (1.5 Nm).
–  Remove driver's side dash panel cover -2- from dash panel.

Installation
  Note
Before installing, check all fasteners for damage and renew if necessary.
–  Installation is carried out in reverse order.
   

Removing and installing dash panel trim (driver's side), ?Style? > < Removing and installing dash panel cover on driver's side