
Leon Mk2
| Removing and installing floor insulation |
| Removal |
| – | Switch off ignition. |
| – | Remove lower A-pillar trim on driver side → Chapter. |
| – | Remove lower A-pillar trim on front passenger side → Chapter. |
| – | Remove lower steering column trim → Chapter. |
| – | Remove lower left and right B-pillar trim → Chapter. |
| – | Remove front seats (driver and front passenger sides) → Chapter. |
| – | Remove rear seat → Chapter. |
| – | Remove centre console: → Chapter. |
| – | Remove left and right side trim panel → Chapter. |
| – | Remove left and right sill moulding → Chapter. |
| – | Remove accelerator module → Fuel supply; Rep. gr.20. |
| – | Remove floor covering → Chapter. |
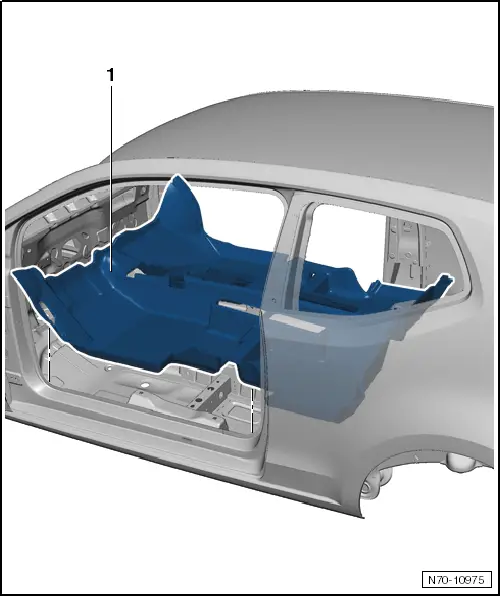
| – | Detach floor insulation -1- all round. |
| – | Raise floor insulation -1- and remove from vehicle (folded along longitudinal axis). |
 Note
Note
|