
Leon Mk2
|
|
|
 Note
Note
|
|
|
|
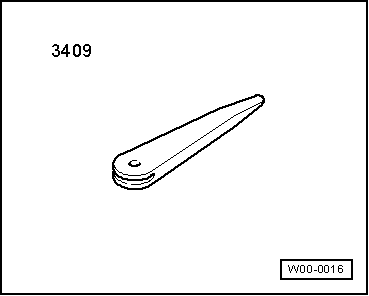
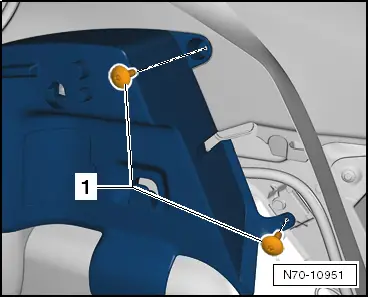
| – | Release load compartment side trim -1- where it overlaps with C-pillar trim using removing wedge -3409-. |
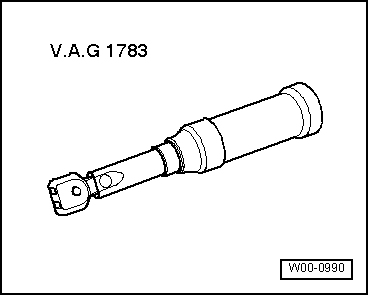
| – | Release load compartment side trim -1- from mountings -2- using removing wedge -T10383-. |
| – | Pull load compartment side trim -1- inwards and remove from rear lid seal bead. |
| – | If necessary, separate connector from light and socket. |

Note
|