| –
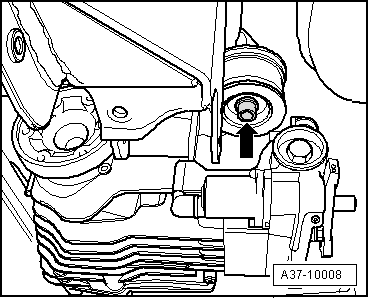
| Unscrew securing bolt -arrow- from front mounting bracket for final drive. |
| –
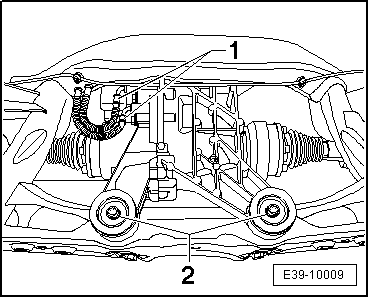
| Carefully extract the front final group. |
| Installation is carried out in the reverse sequence; note the following: |
| –
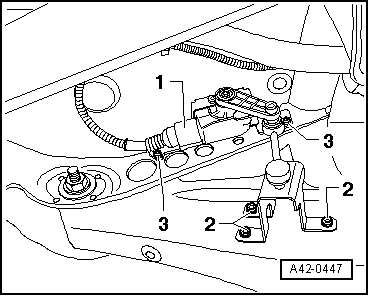
| Tighten the bolts for fixing the final drives to the subframe with 60 Nm + 90º (1/4 turn). |
| –
| Install the exhaust system and align without tensioning → Rep. gr.26. |

Note | When replacing the final drive, the oil level of the final drive and Haldex coupling have to be checked and, if necessary, topped-up with oil. |
| t
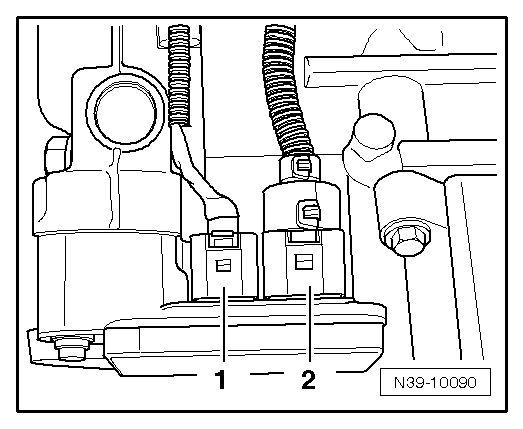
| Oil level of the rear final group (2nd Generation), check and, top up where applicable, Altea XL 2009 ►, Altea XL Freetrack 2008 ►, Altea XL Freetrack 2009 ► → Chapter. |
| t
| Oil level of Haldex coupling (2nd Generation), check and, top up where applicable, Altea XL 2009 ►, Altea XL Freetrack 2008 ►, Altea XL Freetrack 2009 ► → Chapter. |
|
|
|