| –
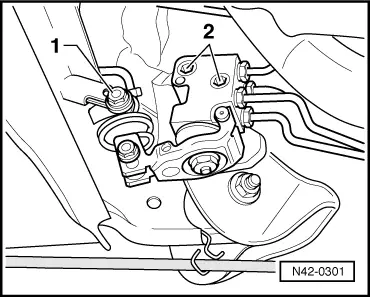
| Unscrew bolt -1- of the brake-power regulator. |
| –
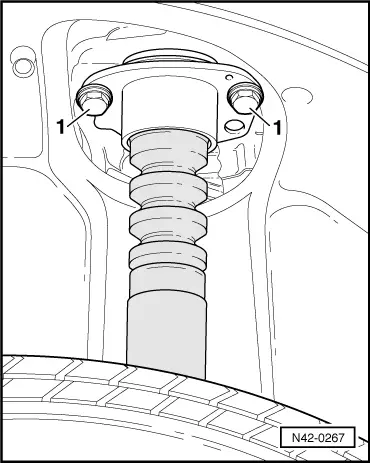
| Before inserting the rear axle, grease the kidney-shaped cavities of the rubber-metal bearings with assembly paste -G 052 150 A2-. |
| Installation is carried out in the reverse order. |

Note | t
| When tightening the screw of the rubber-metal bearing, the axle body must be in the horizontal position (unladen condition). |
| t
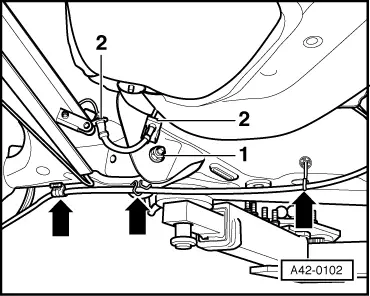
| When installing the hand brake cables, pay attention to the correct fitting position → Chapter. |
| –
| If fitted, inspect the load-sensitive brake pressure regulator and set if necessary → Chapter. |
| Once the steering gear has been installed it is then important to check the position of the steering wheel during a test drive. |
| If the vehicle drifts, a chassis alignment must be performed. |
Note | After slackening or changing the mounting bracket, check the overall track of the rear axle, adjust if necessary. |
|
|
|