
Forester F4-2.5L SOHC (2004)
7. Secure the housing with two nuts and the bolt.
Tightening torque: 42 Nm (4.3 kgf-m, 31 ft. lbs.)
8. Install the torque converter clutch case assembly to the transmission case assembly.
9. Install reduction driven gear.
10. Combine the extension case with the transmission case, and install vehicle speed sensor 1 (rear).
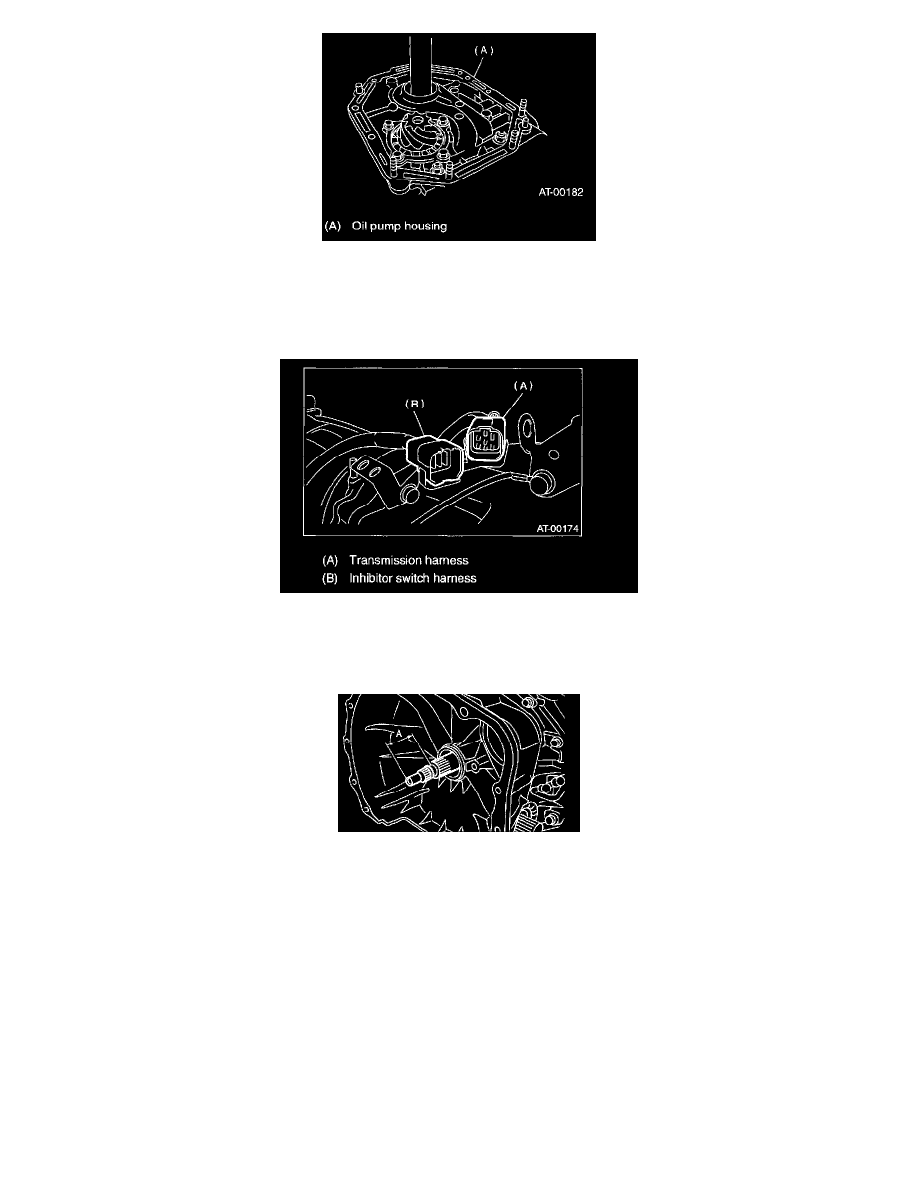
11. Insert inhibitor switch and transmission connector into stay.
12. Install air breather hose.
13. Install the oil cooler pipe.
14. Install the oil charger pipe with O-ring.
15. Insert the input shaft while turning lightly by hand. At this time, not to damage the bushing.
Normal protrusion A: 50 - 55 mm (1.97 - 2.17 inch)
16. Install the torque converter clutch assembly.
17. Install the transmission assembly to the vehicle.
DISASSEMBLY