
Forester F4-2.5L Turbo (2009)
Support plate to Body:
150 N-m (15.3 kgf-m, 110.6 ft-lb)
4) Install the ball joint into housing.
Tightening torque:
50 N-m (5.1 kgf-m, 36.9 ft-lb)
5) Install the stabilizer.
6) Install the front vehicle height sensor (models with auto headlight beam leveler, left side only).
Tightening torque:
7.5 N-m (0.76 kgf-m, 5.5 ft-lb)
7) Install the front vehicle height sensor connector (models with auto headlight beam leveler, left side only).
8) Install the front wheels.
9) Lower the vehicle from lift, and tighten the bolt which secures the front arm to crossmember with wheels in full contact with the ground and the
vehicle at curb weight.
Tightening torque:
95 N-m (9.7 kgf-m, 70.1 ft-lb)
10) Connect the battery ground cable to the battery.
11) Inspect the wheel alignment and adjust if necessary.
12) Re-initialize the auto headlight beam leveler system (models with auto headlight beam leveler).
Removal
Rear Trailing Link
REMOVAL
1) Lift up the vehicle, and then remove the rear wheels.
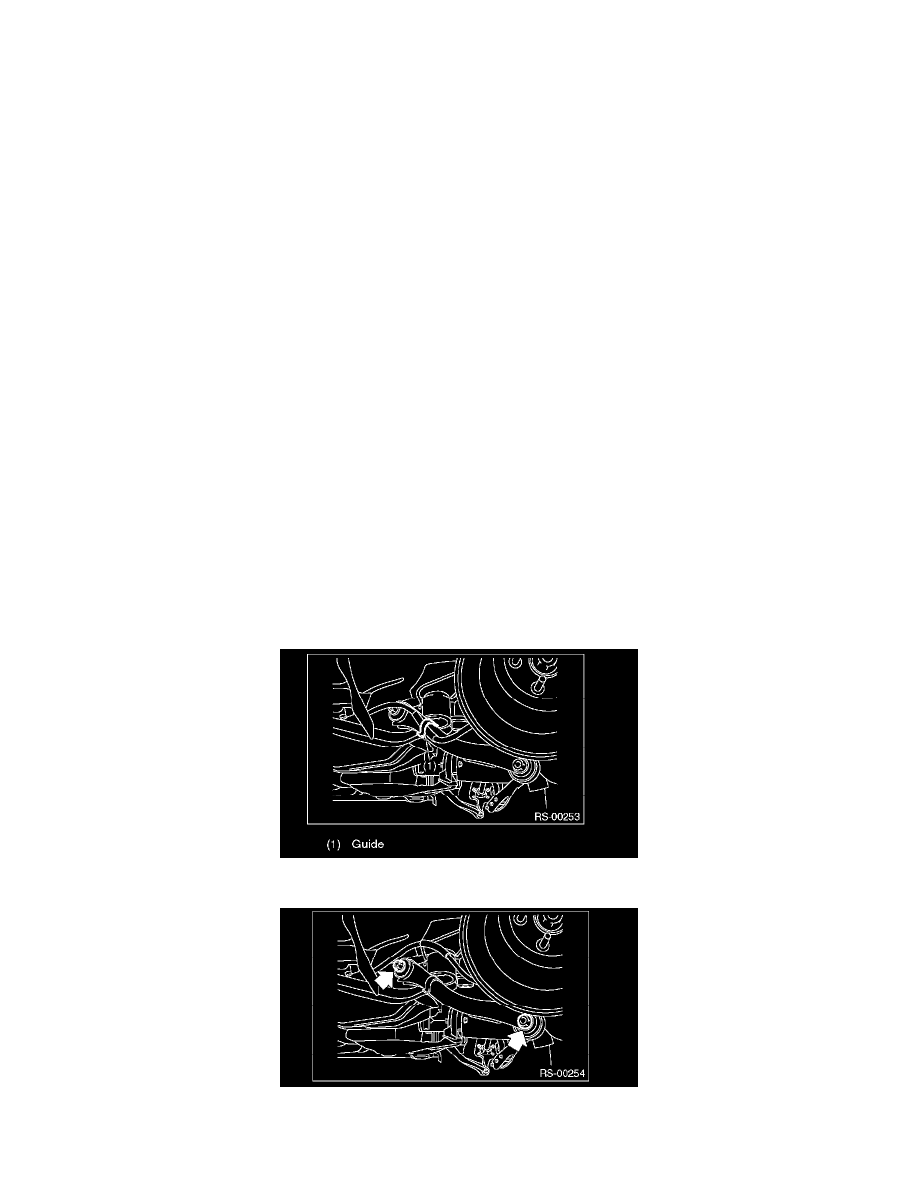
2) Remove the bracket, and remove the parking brake cable from the guide.
3) Remove the trailing link.
Installation
INSTALLATION