
Forester F4-2.5L Turbo (2009)
6) Turn the push rod to lengthen until the clutch pedal contacts the clutch switch.
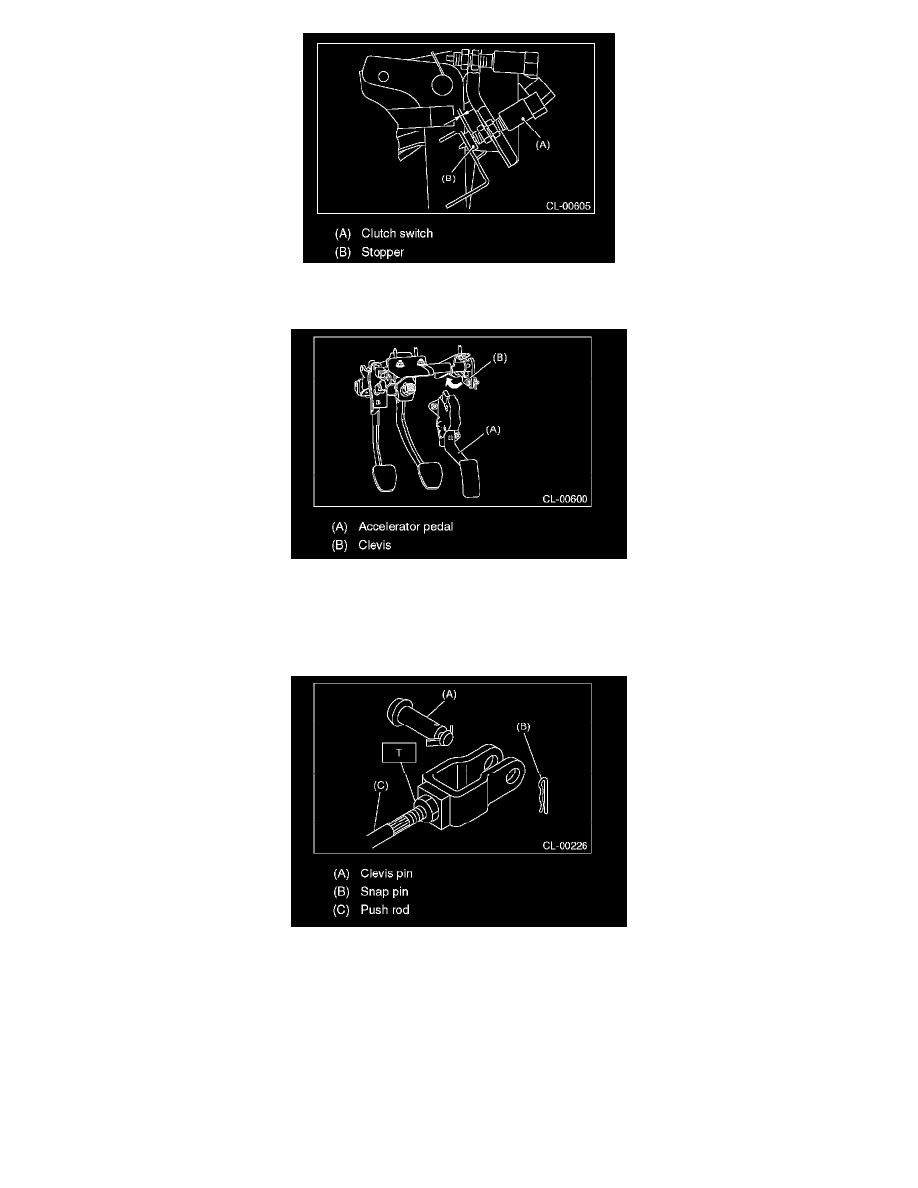
7) Turn further in the direction that will shorten the push rod (arrow direction shown in figure) by 270°.
8) Check that the clevis pin moves smoothly by moving it in the left and right directions.
9) Tighten the push rod lock nut.
Tightening torque (Push rod lock nut):
T: 10 N-m (1.0 kgf-m, 7.4 ft-lb)
10) Depress and release the clutch pedal two or three times to ensure that the clutch pedal and release lever operate smoothly. If the clutch pedal and
release lever do not operate smoothly, bleed air from the clutch hydraulic system.
11) Measure the clutch pedal full stroke length again to ensure that it is within specifications. If it is not within specifications, repeat adjustment
procedures again from the beginning.
Clutch pedal full stroke:
130 - 135 mm (5.12 - 5.31 in)
12) Push the release lever until the operating cylinder push rod retracts. Make sure that the clutch fluid level in the reservoir tank increases. If the
clutch fluid level increases, the hydraulic clutch is properly adjusted; If the fluid level does not increase or the push rod does not retract, replace
the master cylinder with a new part.