
Forester L F4-2.5L SOHC (1999)
Tightening torque: 20 ± 6 Nm (2.0 ± 0.6 kg-m, 14.5 ± 4.3 ft. lbs.)
2. Connect housing to lower side of strut.
3. Position aligning mark on camber adjusting bolt with aligning mark on lower side bracket of strut.
CAUTION:
^
While holding head of adjusting bolt, tighten self-locking nut.
^
Be sure to use new self-locking nut.
Tightening torque: 152 ± 20 Nm (15.5 ± 2.0 kg-m, 112 ± 14 ft. lbs.)
4. Install ABS sensor harness to strut. (ABS equipped models)
Tightening torque: 152 ± 20 Nm (15.5 ± 2.0 kg-m, 112 ± 14 ft. lbs.)
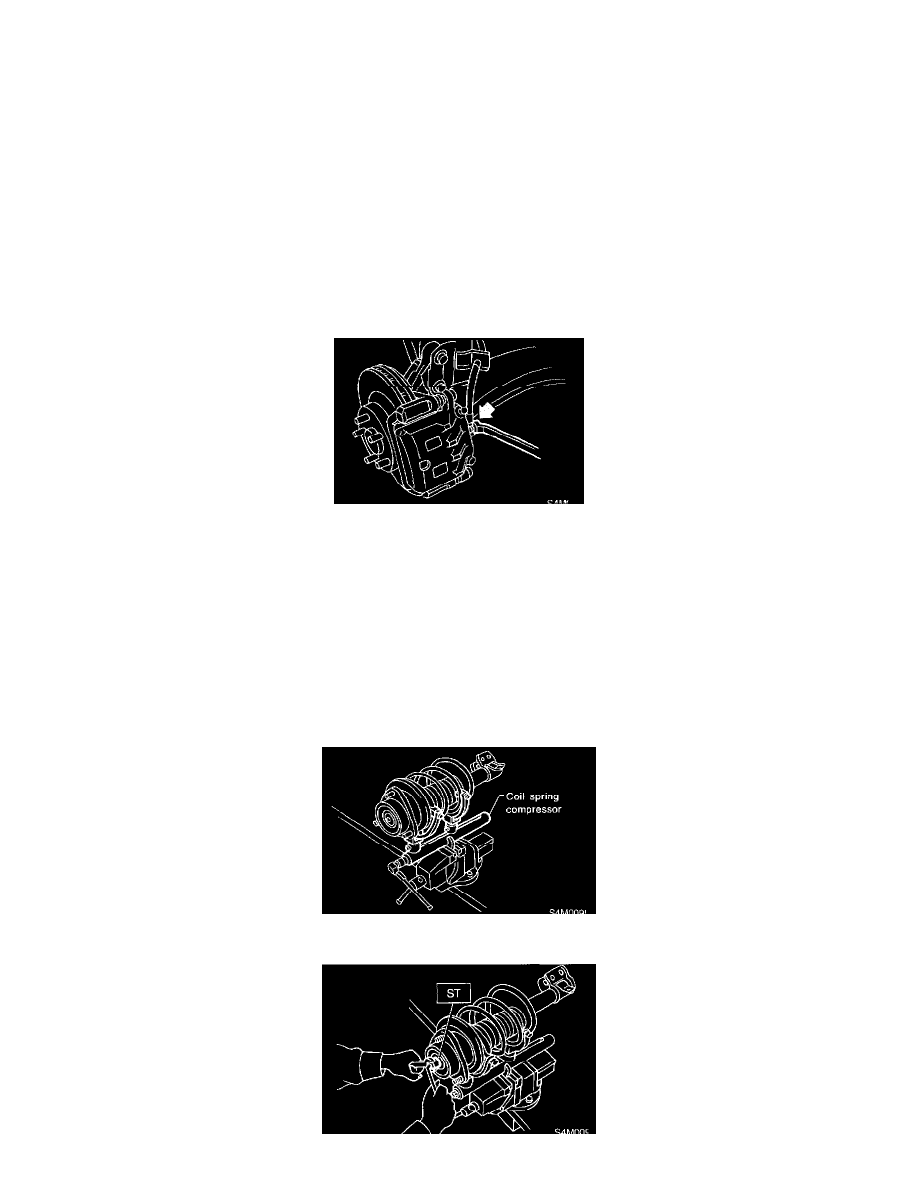
5. Install brake hose at lower side of strut with clamp.
6. Install union bolts which secure brake caliper to brake hose.
Tightening torque: 18 ± 3 Nm (1.8 ± 0.3 kg-m, 13.0 ± 2.2 ft. lbs.)
CAUTION: Be sure to bleed air from brake system.
7. Install wheels.
NOTE: Check wheel alignment and adjust it necessary.
Disassembly and Reassembly
DISASSEMBLY
1. Using a coil spring compressor, compress coil spring.