
Forester S F4-2.5L DOHC (1998)
CAUTION: Finish the work rapidly (less than three seconds) because the rectifier cannot withstand heat very well.
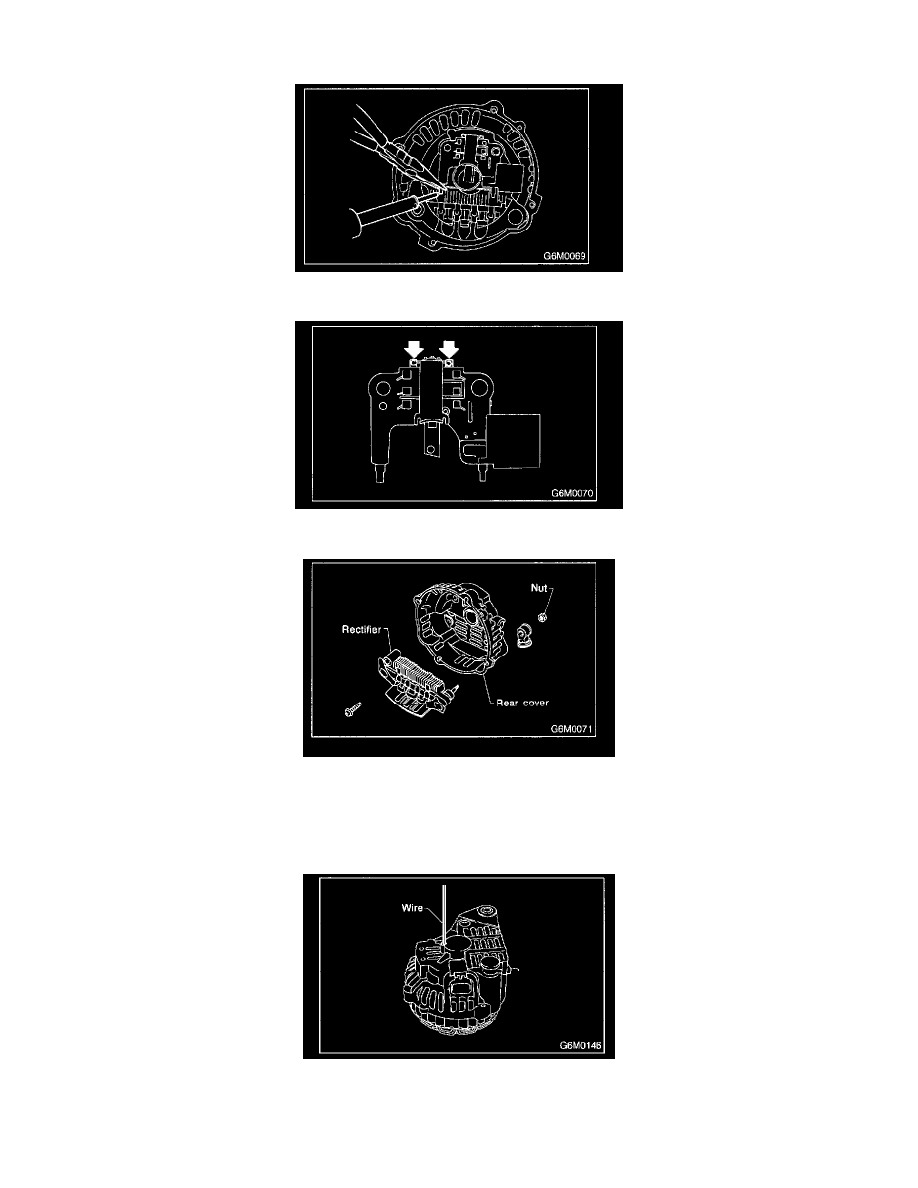
4. Remove screws which secure IC regulator to rear cover, and unsolder connection between IC regulator and rectifier to remove IC regulator.
5. Remove the brushes by unsoldering at the pigtails.
6. Remove the nut and insulating bushing at terminal B. Remove rectifier.
ASSEMBLY
To assemble, reverse order of disassembly.
1. Pulling up brush
Before assembling, press the brush down into the brush holder with your finger and secure in that position by passing a [2 mm (0.08 in) dia.
length 4 to 5 cm (1.6 to 2.0 in)] wire through the hole shown in the figure.