
Hatchback 4WD F4-1781cc 1.8L (1983)
Shift Linkage: Adjustments
MANUAL LINKAGE ADJUSTMENT
1.
Move selector lever from P to 1 and lever should come to a set position with a click, which indicates manual valve has gone into its detent
position. If lever is not in alignment with proper mark on dial when lever is released, an adjustment is necessary.
2.
Move lever to N, loosen locknuts on linkage arm at transmission lever and turn as necessary for transmission lever to click into detent position
when selector lever is in N.
3.
If necessary for selector lever alignment with console marks, loosen four screws holding the indicator and re-position as necessary.
BAND ADJUSTMENT
If 1-2 shift is not smooth or if engine speed increases abruptly on 2-3 shift or if there is a delay of more than .7 second on a 3-2 kickdown downshift,
excessive clearance between the reverse clutch drum and band may exist and the adjusting screw should be rotated clockwise. If there is a braking
action on 2-3 shift or if shock on a 1-2 shift is unusually light, insufficient clearance between the reverse clutch drum and band may exist and the
adjusting screw should be rotated counterclockwise. If dragging or slipping occurs on a 1-2 shift or if transmission shifts directly from 1st to 3rd, loosen
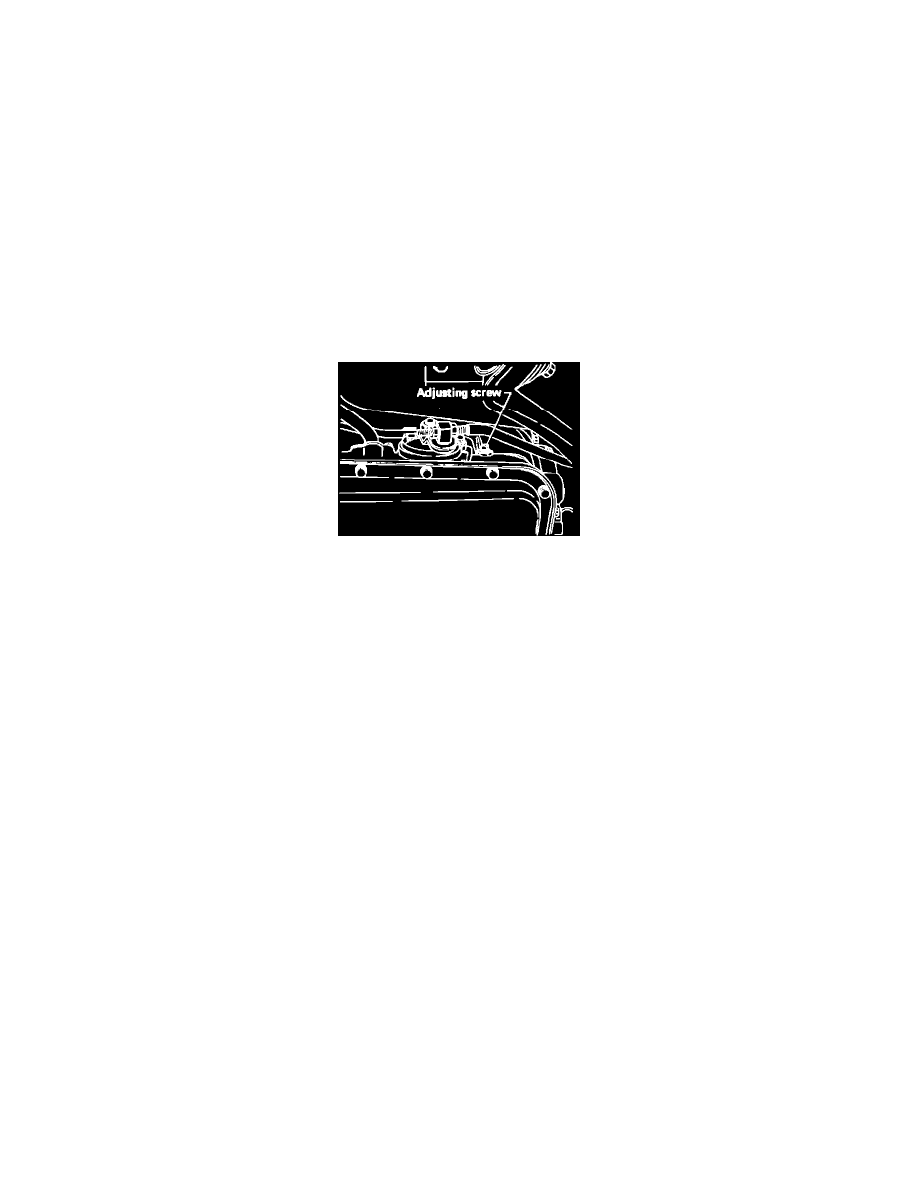
adjusting screw and torque to 6.5 ft.lbs., then back off adjusting screw 2 turns. To adjust band, proceed as follows:
Fig. 3 Band adjusting screw location
1.
Using socket 398603610 to hold adjusting screw in place, loosen locknut, Fig. 3.
2.
Loosen or tighten the adjusting screw within 1/4 turn (90 degrees), as necessary to properly adjust the band, then torque locknut to 18-21 ft.lbs.