
Impreza F4-2.5L SOHC (2003)
Torque Converter Clutch Solenoid: Service and Repair
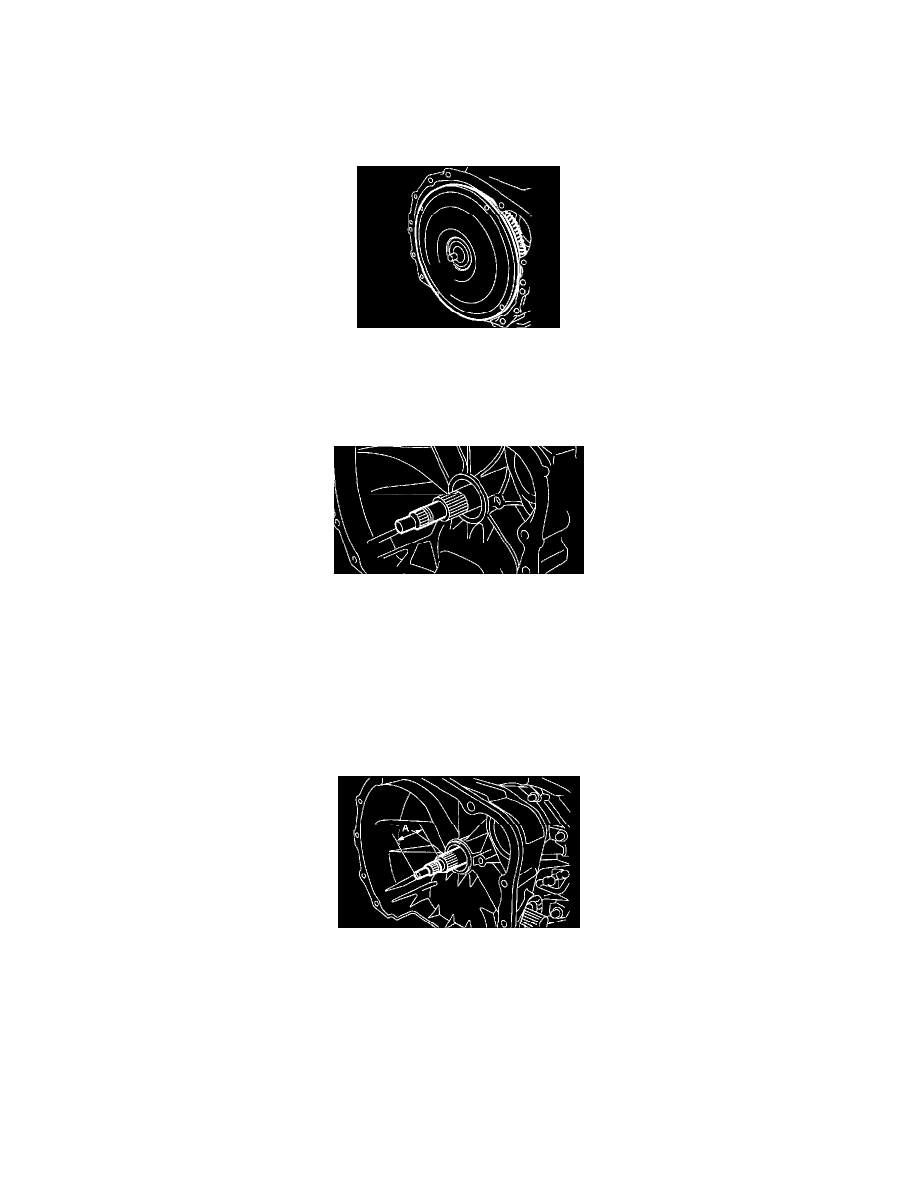
Torque Converter Clutch Assembly
Torque Converter Clutch Assembly
REMOVAL
1) Remove the transmission assembly from the vehicle.
2) Extract the torque converter clutch horizontally.
NOTE:
^
Be careful not to scratch the bushing inside the oil pump shaft.
^
Note that oil pump shaft also comes out.
3) Remove the input shaft.
NOTE: When the torque converter clutch assembly is removed, the input shaft will come out.
4) Extract the oil pump shaft from torque converter clutch.
5) Remove the clip from torque converter clutch.
INSTALLATION
1) Install the clip to torque converter clutch case.
2) Install the oil pump shaft to the torque converter clutch, and then check the clip fits securely in its groove.
3) Insert the input shaft while turning lightly by hand.
Normal protrusion A: 50 - 55 mm (1.97 - 2.17 inch)
4) Holding the torque converter clutch assembly by hand, carefully install it to the torque converter clutch case. Be careful not to damage the bushing.
Also avoid undue contact between the oil pump shaft bushing and stator shaft portion of the oil pump cover.