
Impreza F4-2.5L SOHC (2003)
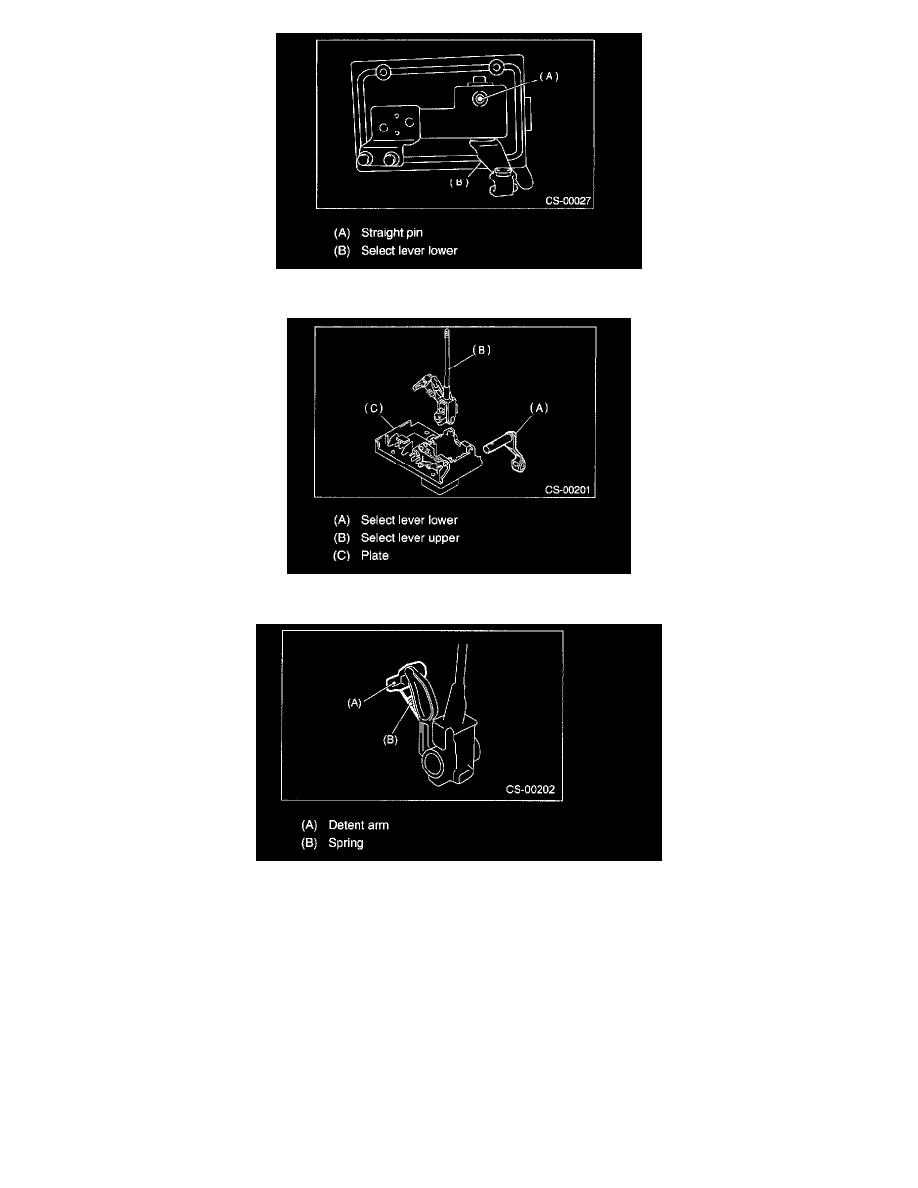
9) Remove the cap and then extract straight pin.
10) Remove the select lever lower then take away the select lever upper from plate.
11) Remove the spring and remove the detent arm.
12) Remove the cushion.
ASSEMBLY
1) Clean all parts before assembly.
2) Apply grease [NIGTIGHT LYW No. 2 or equivalent] to each parts.
3) Assembly is in the reverse order of disassembly.
4) After completion of fitting, transfer the select lever to range "P"-"1", then check whether the indicator and select lever agree, whether the pointer
and position mark agree and what the operating force is.
INSPECTION
1) Inspect the removed parts by comparing with new ones for deformation, damage and wear. Correct or replace if defective.
2) Confirm the following parts for operating condition before assembly. Moving condition of the selector lever upper, it should move smoothly.