
Impreza 2.5 RS Coupe AWD F4-2.5L SOHC (2001)
Front Door Panel: Service and Repair
Sealing Cover
SEALING COVER
REMOVAL
1. Remove trim panel.
2. Remove speaker, trim bracket and remote assembly and disconnect connectors.
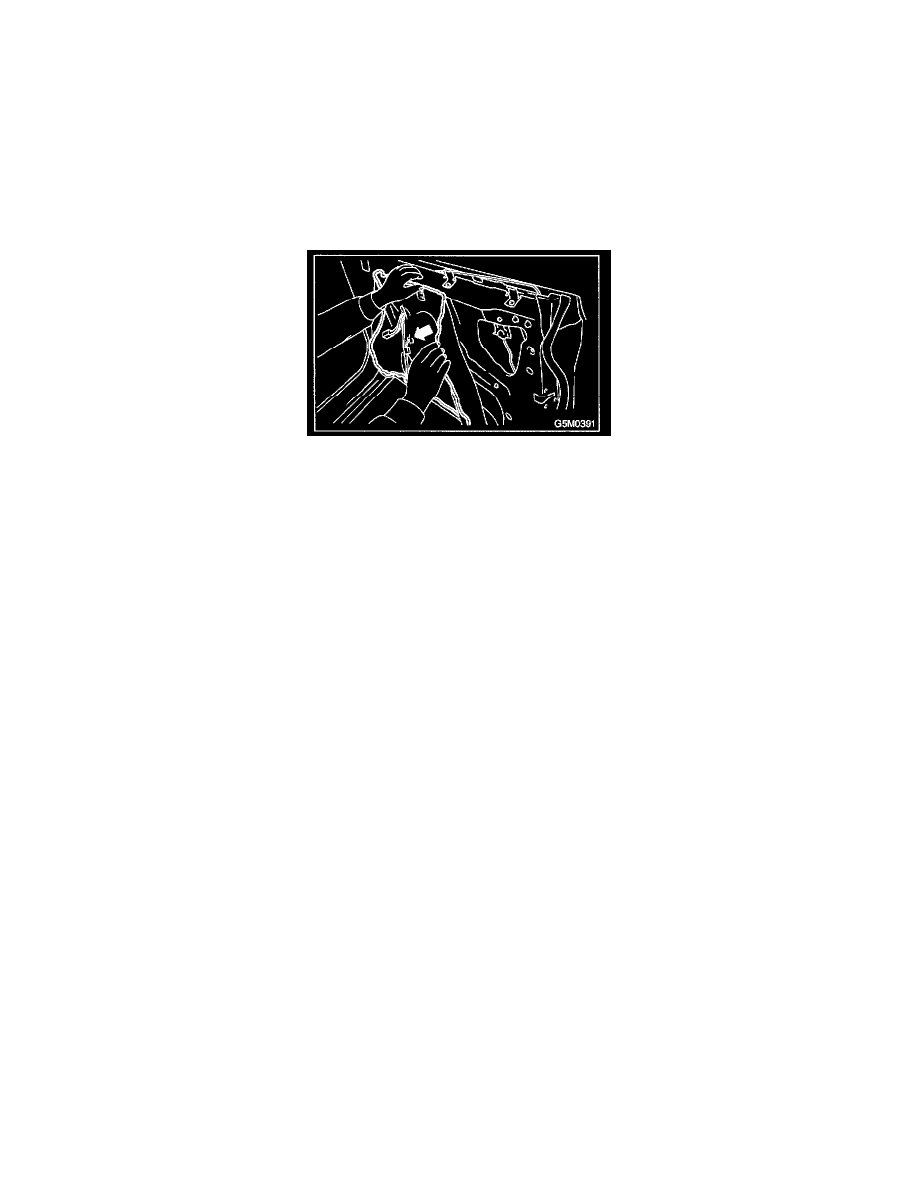
3. Remove sealer with a spatula.
CAUTION: Be careful because cover may break if sealer is removed forcefully.
INSTALLATION
Install in the reverse order of removal.
NOTE:
-
Confirm that sealer is properly applied without breaks. Then install sealing cover.
-
When repairing or replacing sealing cover, use "CEMEDINE 5430L" as sealer. It may be overlaid on existing sealer.
Sealer: CEMEDINE 5430L
CAUTION:
-
Any breaks in sealer can cause water leakage or entry of air and dust. Be sure sealer is applied in a continuous line.
-
Make sure sealing cover bonded areas are free from wrinkles or openings.