
Impreza 2.5 RS Coupe AWD F4-2.5L SOHC (2001)
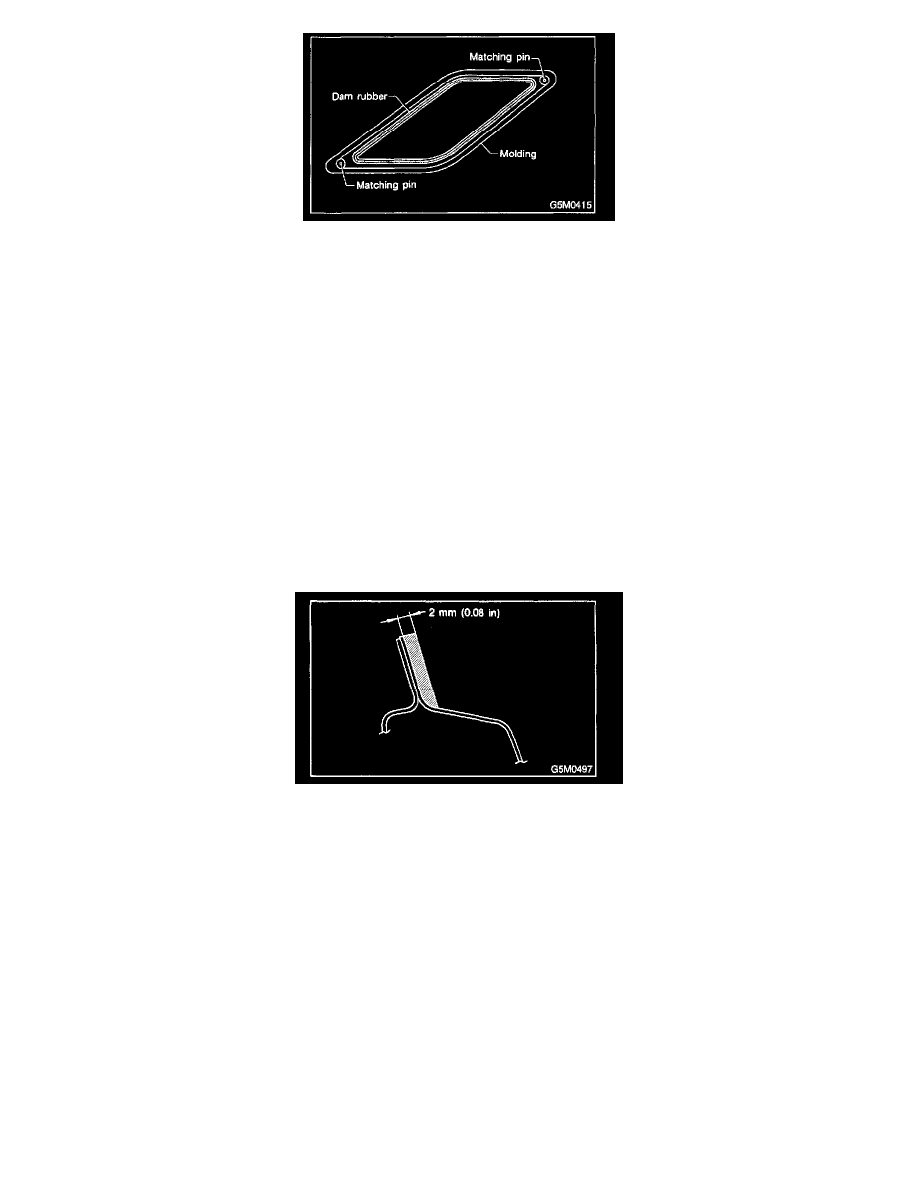
2. Mount glass on body with matching pin aligned.
3. Stick them fast by pressing all sides lightly.
7. Water leakage test:
After installing glass, test for water leakage after about one hour.
CAUTION:
-
Move vehicle slowly.
-
When opening and closing door, lower door glass and move door gently.
-
Do not squirt strong hose stream on vehicle.
8. Spontaneous drying:
After completing all operations, leave vehicle alone for 24 hours.
CAUTION: When delivering vehicle to user, tell him or her that vehicle should not be subjected to heavy shocks for at least three days.
2. COUPE
1. Finish surface of adhesive layer on body: Using a putty knife, etc., cut layer of adhesive stick firmly to body and finish it into a smooth surface
of about 2 mm (0.08 in) in thickness.
CAUTION: Be careful not to damage body finish.
2. Cleaning of body surface:
1. Remove chips, dirt and dust from body surface.
2. Clean body wall surface and upper surface of adhesive layer with a solvent such as alcohol or white gasoline.
3. Cleaning glass:
1. Remove dirt and dust from surface of glass to be adhered.
2. Clean surface of glass to be adhered with alcohol or white gasoline.
4. Application of primer:
1. Using a sponge, apply primer to surface of glass to be adhered.
2. Apply primer to surface of body to be adhered.