
Impreza 2.5 RS Sedan AWD F4-2.5L SOHC (2002)
Connect the connectors of same color, and secure the connectors to valve body using clips.
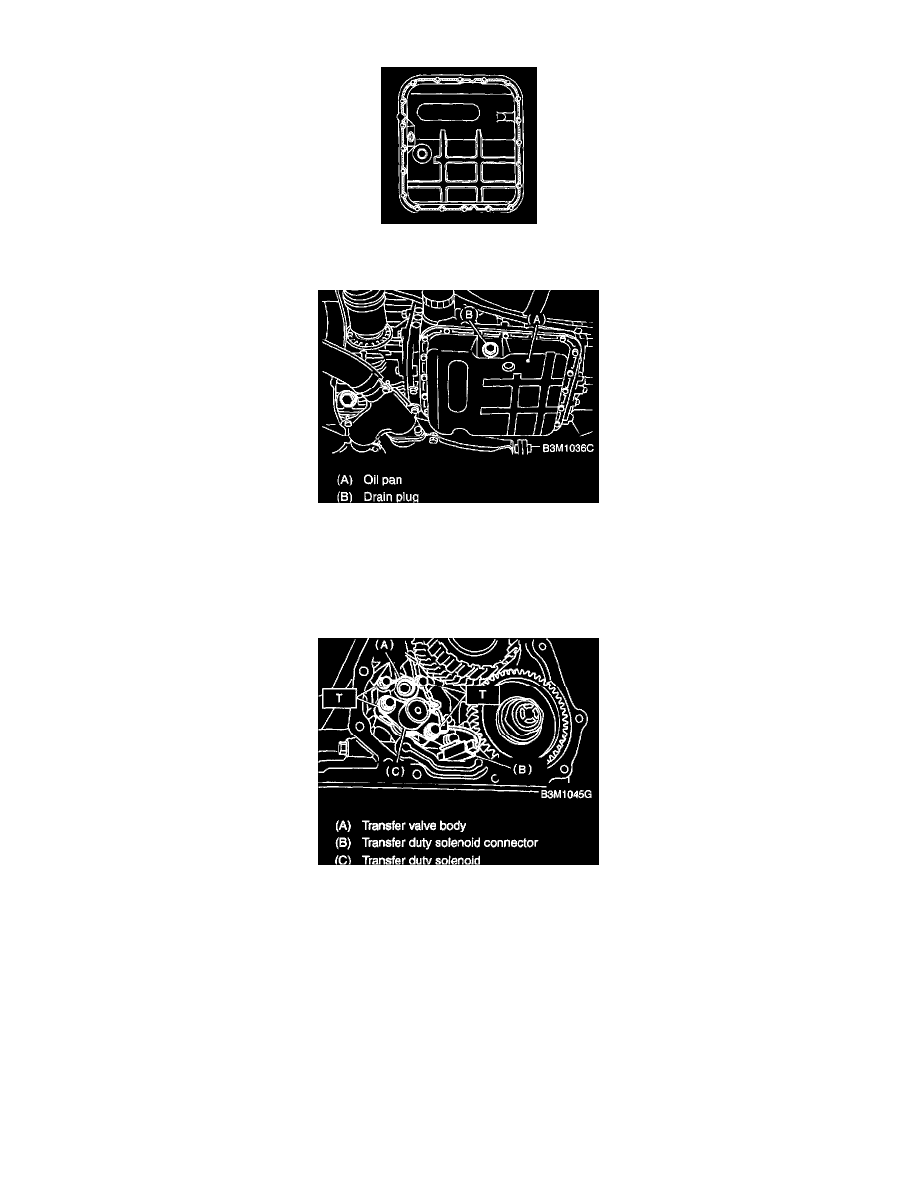
3. Apply proper amount of liquid gasket to the entire oil pan mating surface.
Fluid packing: Tree Bond 1217B
4. Install the oil pan.
Tightening torque: 4.9 Nm (0.50 kgf-cm, 3.6 ft. lbs.)
5. Fill ATF up to the middle of the "COLD" side on level gauge by using the gauge hole.
6. Check the ATF level.
1. TRANSFER DUTY SOLENOID AND TRANSFER VALVE BODY
1. Install the transfer duty solenoid and transfer valve body.
1. Install the transfer duty solenoid and transfer valve body.
Tightening torque:
T: 8 Nm (0.8 kgf-cm, 5.8 ft. lbs.)
2. Connect the transfer duty solenoid connector.
2. Install the extension case to transmission case.
1. Tighten eleven bolts.
Tightening torque: 25 Nm (2.5 kgf-cm, 18.1 ft. lbs.)
2. Adjust the select cable.