
Impreza 2.5 RS Sedan AWD F4-2.5L SOHC (2002)
Transmission Mount: Service and Repair
A: REMOVAL
1. PITCHING STOPPER
1. Disconnect the battery ground terminal.
2. Remove the air intake duct and cleaner case.
3. Remove the air intake duct (Non-turbo model).
4. Remove the air cleaner case (Non-turbo model).
5. Remove the inter cooler (Turbo model).
6. Remove the pitching stopper.
2. CROSSMEMBER AND CUSHION RUBBER
1. Disconnect the battery ground terminal.
2. Jack-up the vehicle and support it with sturdy racks.
3. Remove the front, center exhaust pipes. (Non turbo model)
CAUTION: When removing exhaust pipes, be careful each exhaust pipe does not drop out.
4. Remove the center exhaust pipe. (Turbo model)
5. Remove the rear exhaust pipe and muffler.
6. Remove the heat shield cover. (If equipped)
7. Set the transmission jack under the transmission body.
CAUTION: Always support transmission case with a transmission jack.
8. Remove the rear crossmember.
9. Remove the rear cushion rubber.
B: INSTALLATION
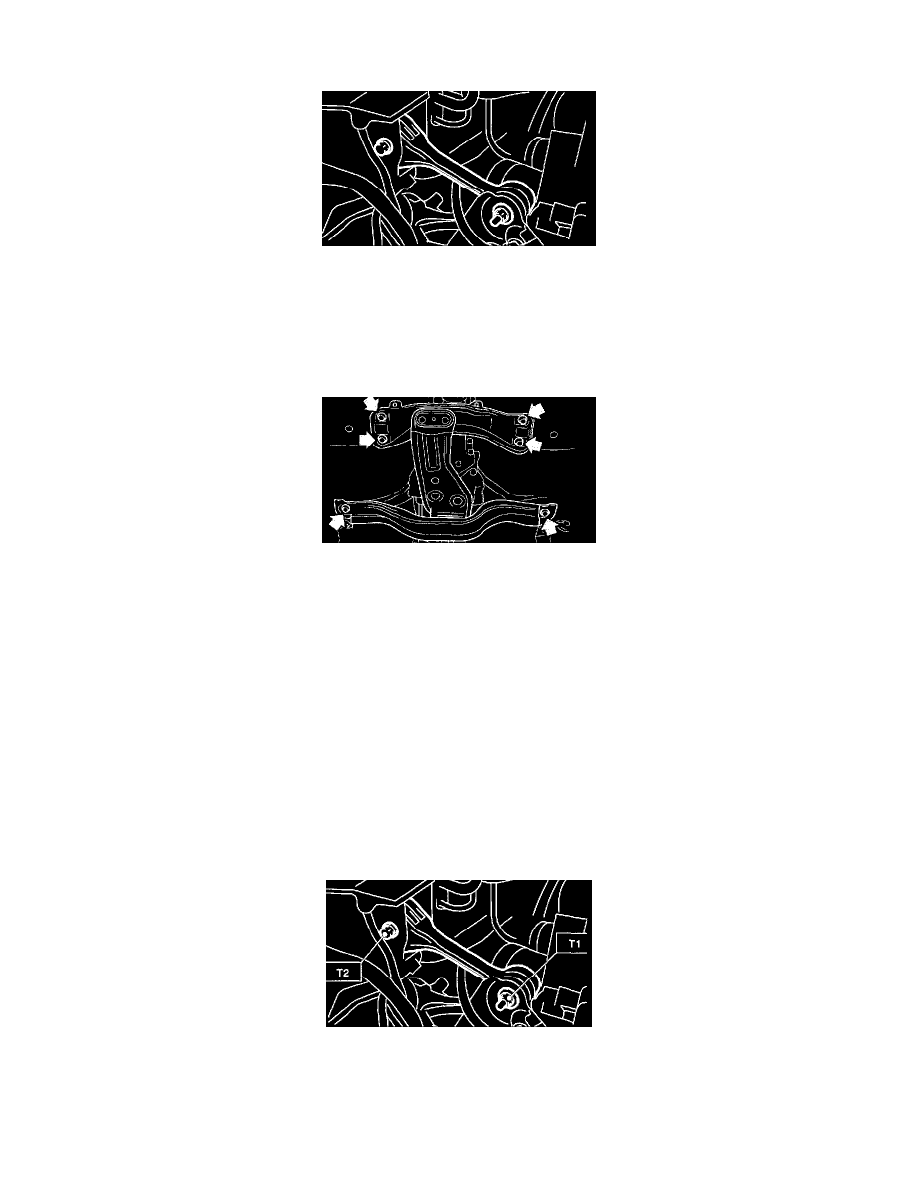
1. PITCHING STOPPER
1. Install the pitching stopper.
Tightening torque:
T1: 50 Nm (5.1 kgf-cm, 37 ft. lbs.)
T2: 58 Nm (5.9 kgf-cm, 43 ft. lbs.)
2. Install the air intake duct and cleaner case. (Non turbo model)