
Impreza Coupe FWD F4-1820cc 1.8L SOHC (1995)
1. WEATHERSTRIP
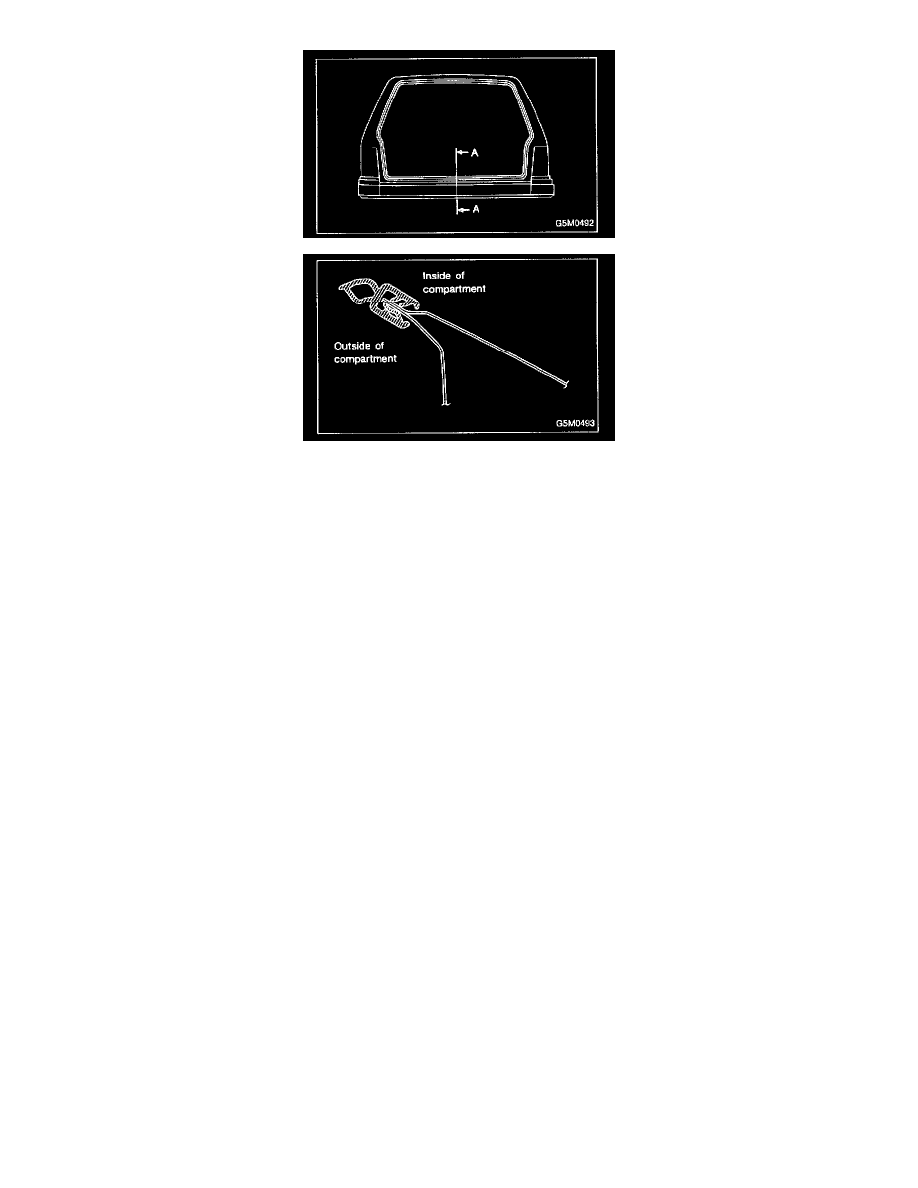
1. Place weatherstrip so that its joints meet at lower center of vehicle body, and install by inserting flanged portion from below, as shown in
section A-A in figure.
2. Tap along entire length with a rubber hammer to firmly insert body flange into weatherstrip.
CAUTION:
-
Be careful not to install in wrong direction.
-
Install weatherstrip carefully and firmly.
2. OUTER HANDLE (REAR GATE)
Tightening torque: Outer handle mounting nut
5.4 - 9.3 N.m (0.55 - 0.95 kg.m, 4.0 - 6.9 ft.lb)
CAUTION: Completely insert latch pin into handle lever.
3. LATCH
Tightening torque: Latch mounting bolt
20 - 29 N.m (2.0 - 3.0 kg.m, 14 - 22 ft.lb)
CAUTION: Firmly join latch with key cylinder, and outer handle.
4. HINGE
Tightening torque:
Hinge mounting bolt and nut Door side
20 - 29 N.m (2.0 - 3.0 kg.m, 14 - 22 ft.lb)
Body side 20 - 29 N.m (2.0 - 3.0 kg.m, 14 - 22 ft.lb)
CAUTION:
-
Be sure to add sealer to hinge.
-
When installing rear gate, be careful not to damage coating on body and rear gate.
5. GAS STAY
Tightening torque: Stud bolt
10 - 18 N.m (1.0 - 1.8 kg.m, 7 - 13 ft.lb)