
Impreza Coupe FWD F4-1820cc 1.8L SOHC (1995)
3. Remove clip and detach key cylinder from trunk lid.
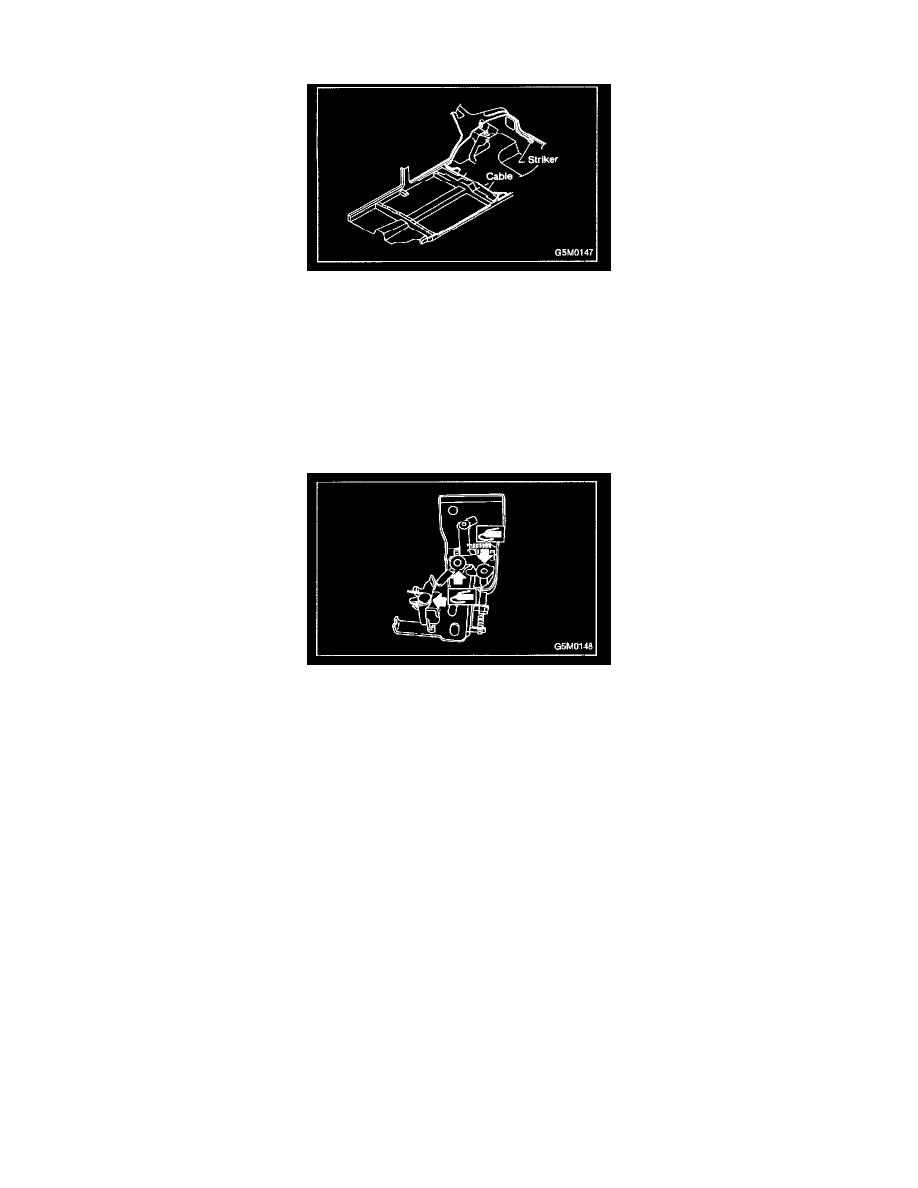
4. TRUNK LID OPENER
1. Remove driver's seat, rear seats, center pillar lower cover, floor mat, rear arch cover and side sill cover (on the driver's side).
2. Remove all clips which hold cable.
3. Disconnect cable from pull handle assembly.
4. Remove bolts and detach pull handle assembly.
5. Loosen bolts which hold lock assembly, and remove it.
6. Remove striker from trunk lid.
7. Disconnect cable from striker.
NOTE: Be careful not to bend or break cable.
INSTALLATION
Installation is in the reverse order of removal.
CAUTION:
-
When installing cover to pull handle assembly, observe the following:
-
Be careful not to catch harness.
-
Engage pull handle assembly pawls firmly.
-
After installing opener cable, ensure it moves smoothly.
-
Apply a coat of grease to the rotary section of hinges and contact surfaces of torsion bars.
-
Apply grease to sliding surfaces of lock assembly and striker.