
Impreza Coupe FWD F4-1820cc 1.8L SOHC (1995)
Combination Switch: Service and Repair
LESS AIR BAG
1. Remove steering wheel as outlined under Steering Wheel.
2. Remove mounting bolts to steering column covers, then the covers.
3. Remove knee protector, then disconnect combination switch electrical connector.
4. Remove combination switch mounting screws, then the switch.
5. Reverse procedure to install, noting the following:
a. When routing combination switch harness around steering system, do not place it over key interlock release knob.
b. After installing lower column cover, ensure key interlock release knob is accessible.
WITH AIR BAG
1. Remove column lower cover, then disconnect air bag connectors located below steering column.
2. Disconnect combination switch electrical connectors.
3. Position front wheels in straight ahead position, then remove covers from both side of steering column.
4. Using T30 Torx bit, remove four Torx bolts located below steering wheel side covers.
5. Disconnect air bag and horn connectors on back side of air bag module. Remove air bag module and place it with pad side facing upward.
6. Using suitable puller, remove steering wheel.
7. Remove steering column cover.
8. Remove combination switch mounting bolts, then the switch.
9. Reverse procedure to install, noting the following:
a. Before installing switch, ensure switch is off and front wheels are in straight ahead position.
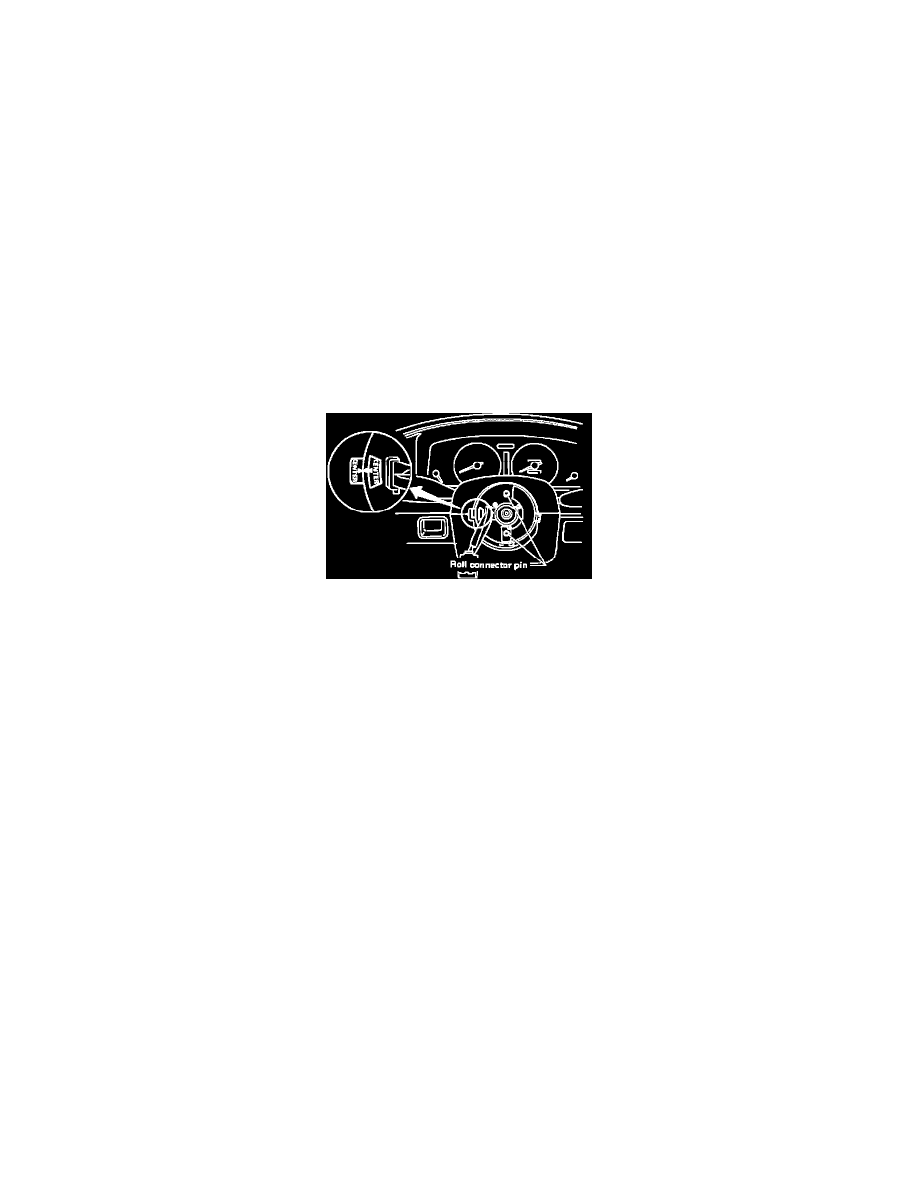
Fig. 3 Aligning Tool Connector. Legacy & SVX w/Airbag
b. Align column cover and center roll connector as shown in Fig. 5.