
Impreza GT F4-2.5L Turbo (2009)
7) Check the brake pedal after installation.
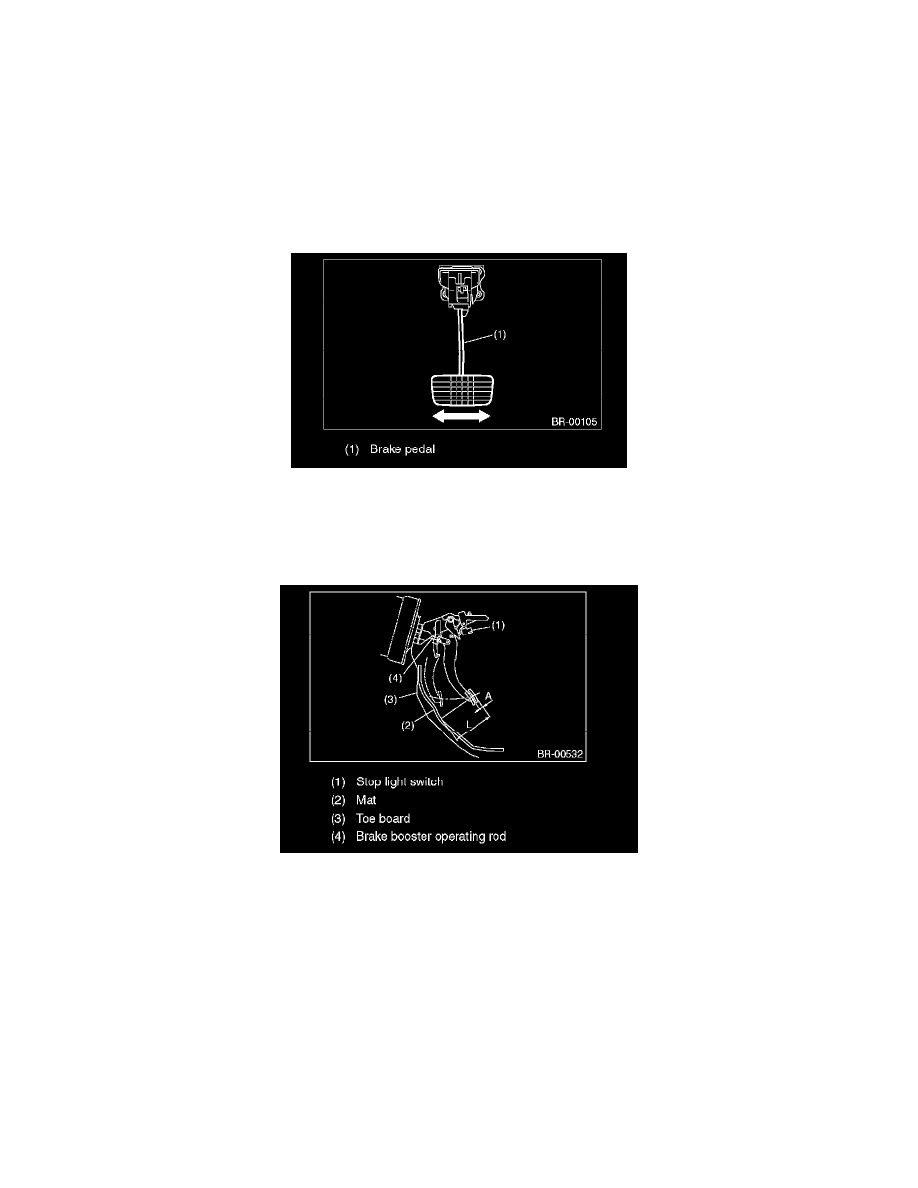
INSPECTION
1) Move the brake pedal pads in a horizontal direction with a force of approx. 10 N (1 kgf, 2 lbf), and check that the pedal deflection is in the range
of specifications.
CAUTION:
If excessive deflection is noted, replace with a new bushing.
Deflection of brake pedal:
Limit
5.0 mm (0.197 in) or less
2) Check the position of the pedal pad.
Pedal height L:
150 - 160 mm (5.91 - 6.29 in)
Brake pedal free play A:
0.5 - 2 mm (0.020 - 0.079 in) [When pulling the brake pedal upward with a force of less than 10 N (1 kgf, 2 lbf).]
3) If out of specification, perform the procedures below to adjust.
4) Remove the stop light switch.
5) Loosen the lock nut of the brake booster operating rod, and rotate the rod to adjust the pedal height L to be within the standard value.
6) Tighten the lock nut.
Tightening torque:
22 Nm (2.2 kgf-m, 16.2 ft-lb)
7) Install the stop light switch.