
Impreza GT F4-2.5L Turbo (2009)
CAUTION:
Be careful with the roller kit position.
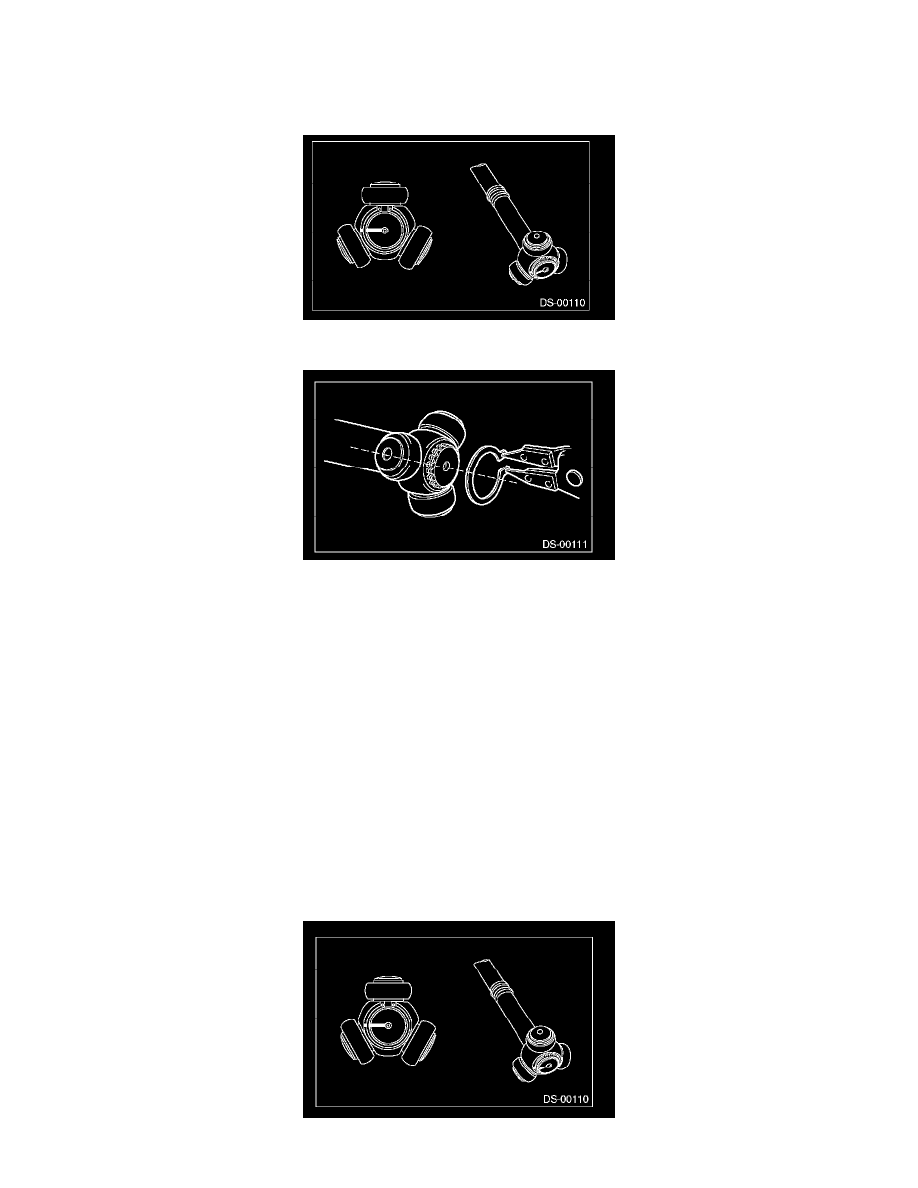
9) Place alignment marks on the trunnion and shaft.
10) Remove the snap ring and trunnion.
CAUTION:
Be sure to wrap shaft splines with vinyl tape to protect the boot from scratches.
11) Remove the AAR boot.
NOTE:
The AC is a non-disassembly part, so the drive shaft disassembly stops here.
Front Drive Shaft Assembly
ASSEMBLY
NOTE:
Use specified grease.
AAR side:
ONE LUBER C
1) Pass the AAR boot through the shaft.
2) Align alignment marks and install the trunnion on the shaft. Install the snap ring into the shaft groove securely.