
Impreza L Sport Wagon F4-2.2L SOHC (1999)
Trim Panel: Service and Repair
Inner Trim Panel
REMOVAL AND INSTALLATION
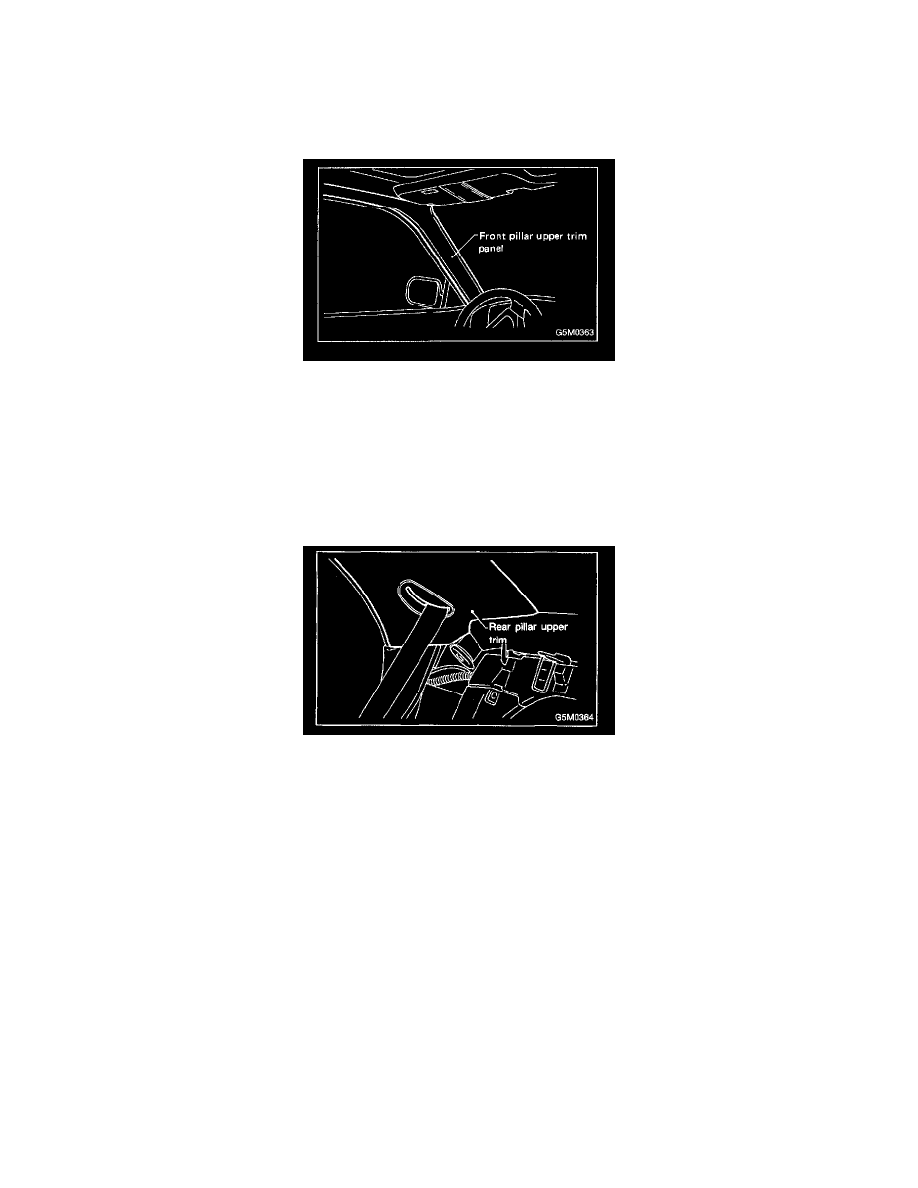
1. FRONT PILLAR UPPER TRIM PANEL
1. Remove center pillar lower trim panel
2. Remove seat belt anchor bolts.
3. Pry pawls off body flange of front pillar upper trim panel using screwdriver.
4. Remove clips which hold front pillar upper trim panel, and lift trim panel out by moving it toward the compartment.
5. Installation is in the reverse order of removal.
CAUTION: Be sure to securely hook pawls of front pillar upper trim panel on body flange.
2. REAR PILLAR UPPER TRIM PANEL (Sedan)
1. Remove rear seat cushion and backrest.
2. Remove tapping screw from rear pillar lower trim panel, and remove trim panel by sliding it forward.
3. Remove front pillar upper trim end.
4. Pry the pawl off front end using screwdriver.
5. Remove clips which hold rear pillar upper trim, and remove trim panel by sliding it forward.
6. Installation is in the reverse order of removal.
CAUTION: Be sure to securely hook pawls of rear pillar upper trim panel on body flange.
3. REAR QUARTER PILLAR UPPER TRIM PANEL (Wagon)