
Impreza L Sport Wagon F4-2.2L SOHC (1999)
1. Set rear seat cushion up.
2. Remove rear seat backrest.
3. Remove rear quarter lower trim.
4. Remove rear rail trim.
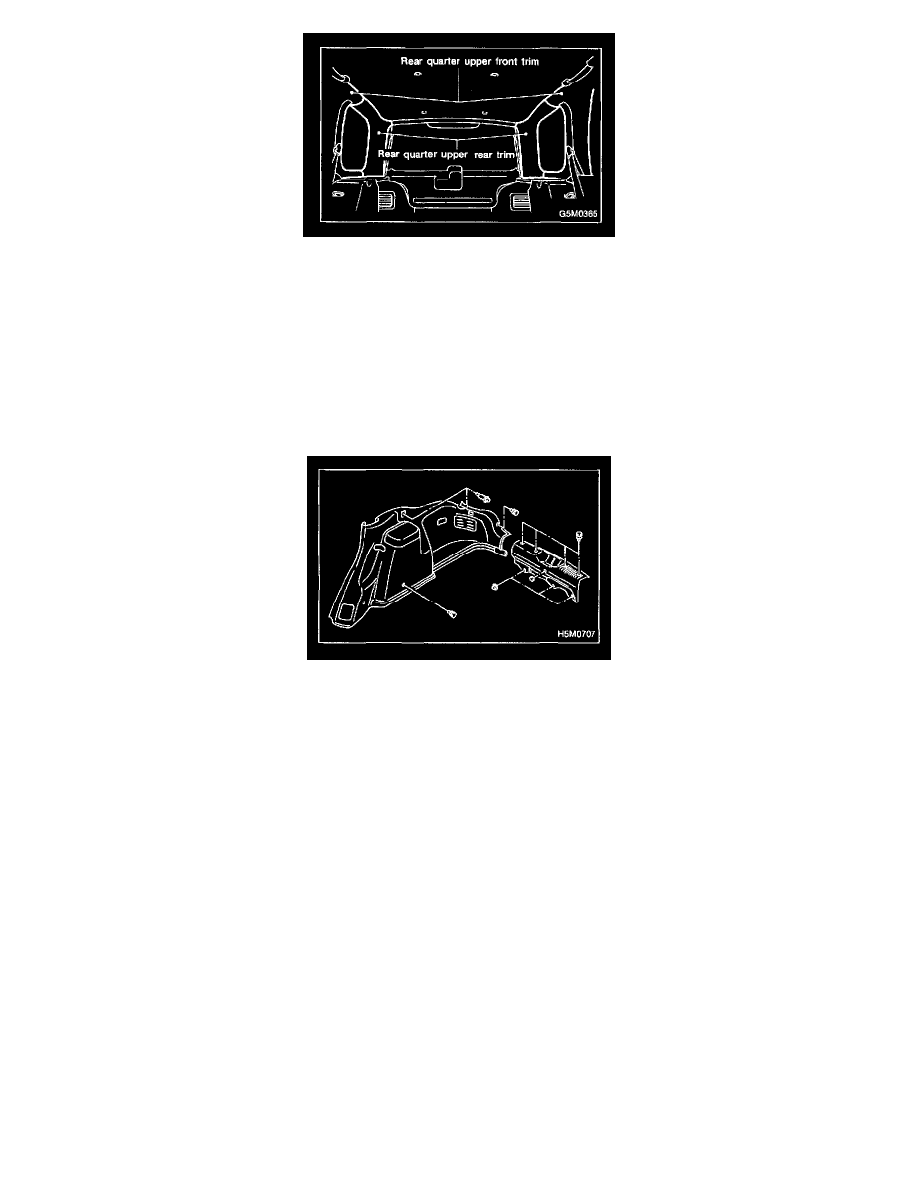
5. Remove rear quarter upper front trim.
6. Remove rear quarter upper rear trim.
7. Installation is in the reverse order of removal.
CAUTION: Be sure to securely hook pawls of rear quarter pillar trim panel on body flange.
4. REAR QUARTER LOWER TRIM PANEL (Wagon)
1. Remove luggage cover.
2. Set rear seat cushion up.
3. Remove rear seat backrest.
4. Remove rear skirt trim.
5. Remove clip and screw then disconnect connector (RH side).
6. Remove rear seat belt lower anchor then remove rear quarter lower trim.
7. Installation is in the reverse order of removal.
CAUTION: Be careful not to ride trim panel over harness, insulators, etc.
5. FLOOR MAT (AIRBAG)
Supplemental Restraint System "Airbag"
Airbag system wiring harness is routed near floor mat.
CAUTION:
-
All Airbag system wiring harness and connectors are colored yellow. Do not use electrical test equipment on these circuit.
-
Be careful not to damage Airbag system wiring harness when servicing floor mat.