Impreza L Sport Wagon F4-2.2L SOHC (1999)

1. Remove front seats.
2. Remove rear seat cushion.
3. Remove center tray, indicator cover, cover assembly, and console box, depending on the specifications.
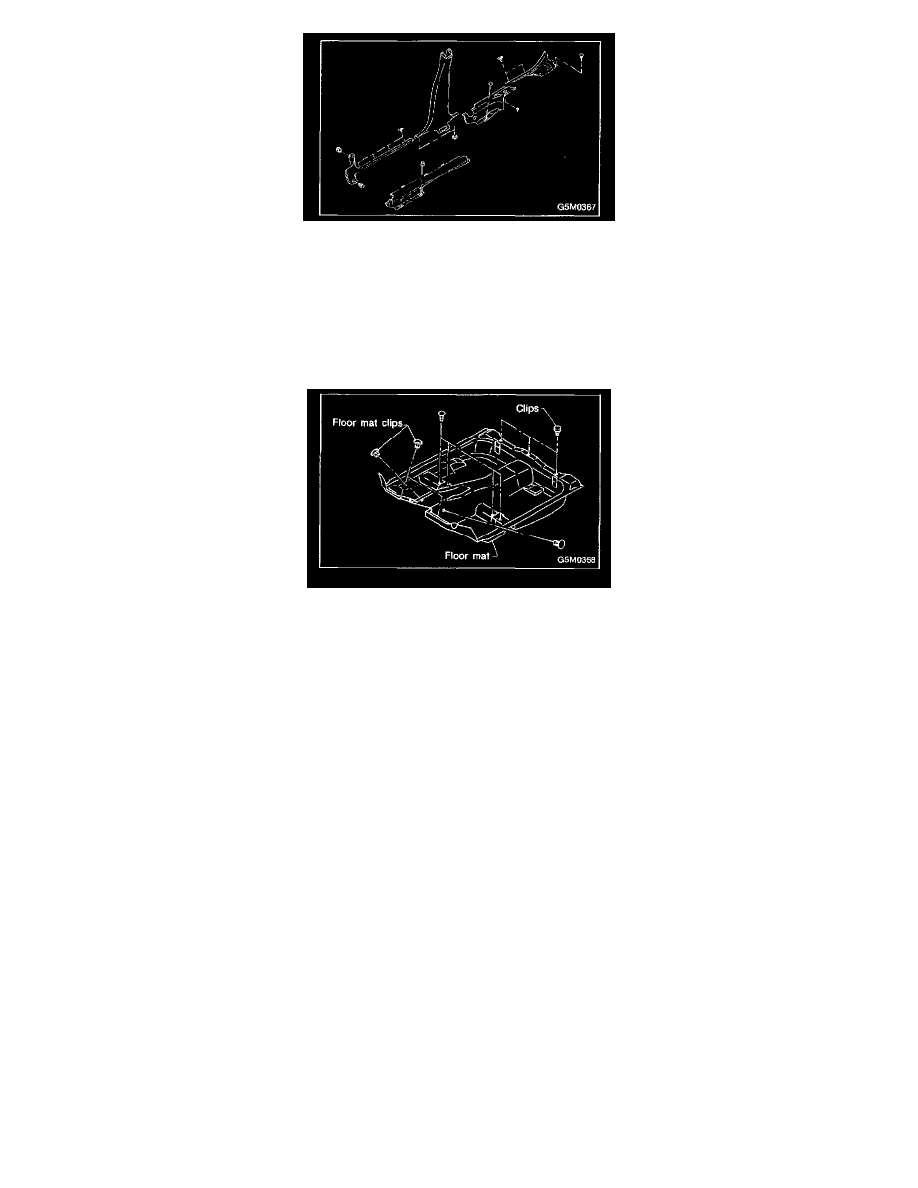
4. Remove front pillar lower trim panel.
5. Remove center pillar lower trim panel.
6. Remove three clips under rear seat cushion.
7. Remove rear cover side plate and rear pillar lower trim.
8. Pull out edge in the groove of side sill cover.
9. Remove four clips under front seat.
10. Remove four clips in toe board area.
NOTE: When pulling out edge, do not pull mat alone; pull mat together with edge. Pry off two steel clips on side sill front cover and one on side
sill rear cover using screwdriver.
11. Remove mat hook.
12. Remove mat from toe board area.
13. Remove mat from heater unit.
14. Roll mat, and take it out of opened rear door.
15. Installation is in the reverse order of removal.
NOTE:
-
Secure mat firmly with hook and velcro tape.
-
Insert mat edge firmly into the groove of side sill cover.
