Impreza Outback Sport AWD F4-2.5L SOHC (2002)

Ball Joint: Service and Repair
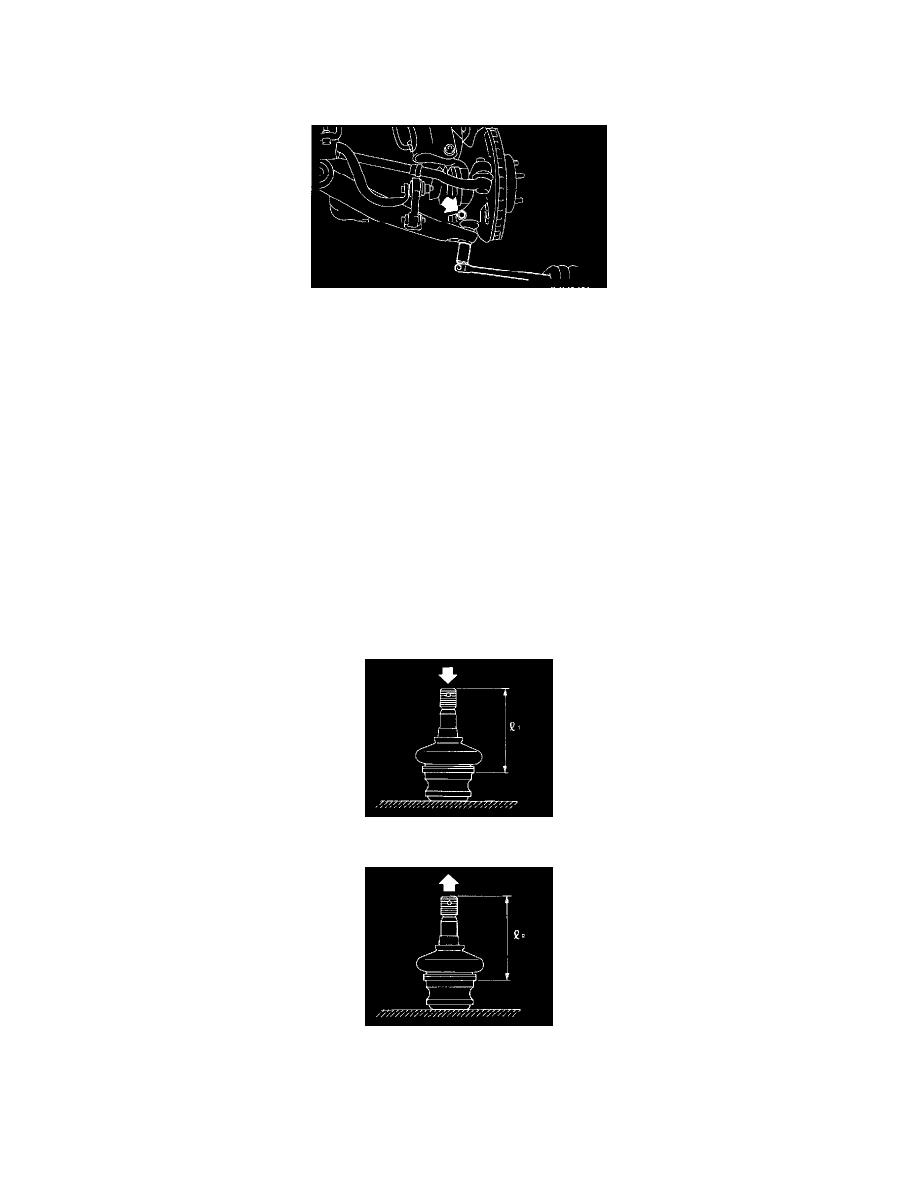
A: REMOVAL
1. Remove the front wheel.
2. Pull out the cotter pin from the ball stud, remove the castle nut, and extract the ball stud from the transverse link.
3. Remove the bolt securing the ball joint to the housing.
4. Extract the ball joint from the housing.
B: INSTALLATION
1. Install the ball joint onto the housing.
Torque (Bolt): 50 Nm (5.1 kgf-m, 37 ft. lbs.)
CAUTION: Do not apply grease to the tapered portion of ball stud.
2. Connect the ball joint to transverse link.
Torque (Castle nut):
Sedan turbo model: 30 Nm (3.1 kgf-m, 22 ft. lbs.)
Except sedan turbo model: 45 Nm (4.6 kgf-m, 33 ft. lbs.)
3. Retighten the castle nut further within 60° until a slot in castle nut is aligned with the hole in ball stud end, then insert the new cotter pin and bend
it around castle nut.
4. Install the front wheel.
C: INSPECTION
1. Measure the play of ball joint by the following procedures. Replace with a new one when the play exceeds the specified value.
1. With 686 N (70 kgf, 154 lb.) loaded in the direction shown in the figure, measure dimension l1.
2. With 686 N (70 kgf, 154 lb.) loaded in the opposite direction shown in the figure, measure dimension l2.
3. Calculate plays from the following formula. S = l2 - l1
4. When plays are larger than the following value, replace with a new one.
FRONT BALL JOINT
Specified play for replacement: S
