Impreza Outback Sport AWD F4-2.5L SOHC (2002)

8. While depressing brake pedal, tighten the axle nut using a socket wrench.
Tightening torque: 235 Nm (24 kgf-cm, 174 ft. lbs.)
CAUTION:
^
Use a new axle nut for rear use only.
^
Always tighten axle nut before Installing wheel on vehicle. If wheel is installed and comes in contact with ground when axle nut is loose, wheel
bearings may be damaged.
^
Be sure to tighten axle nut to specified torque. Do not overtighten it as this may damage wheel bearing.
9. After tightening axle nut, lock it securely.
Disassembly and Reassembly
C: DISASSEMBLY
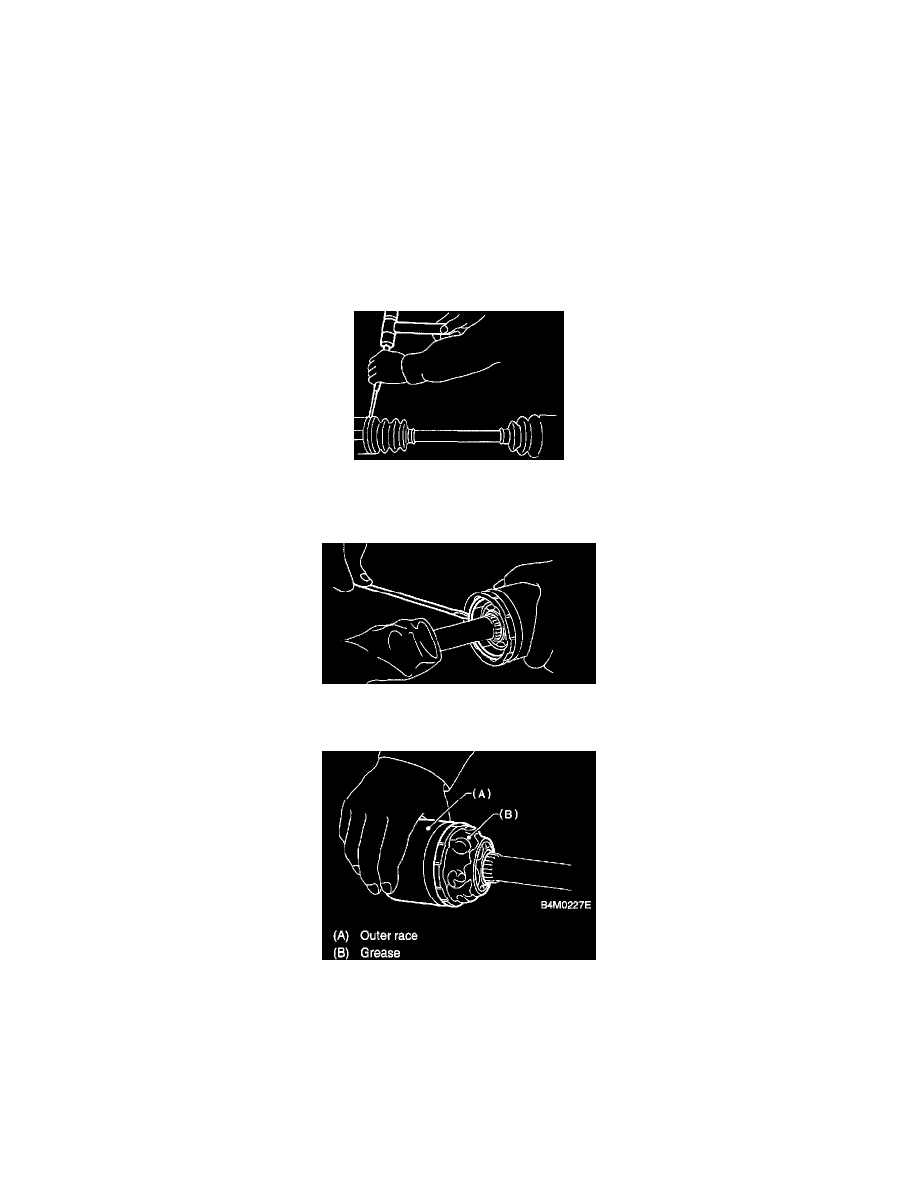
1. Straighten the bent claw of larger end of DOJ boot.
2. Loosen the band by means of screwdriver or pliers with care of not damaging boot.
3. Remove the boot band on the small end of DOJ boot in the same manner.
4. Remove the larger end of DOJ boot from DOJ outer race.
5. Pry and remove the round circlip located at the neck of DOJ outer race with a screwdriver.
6. Take out the DOJ outer race from shaft assembly.
7. Wipe off the grease and take out balls.
CAUTION: The grease is a special grease (grease for constant velocity joint). Do not confuse with other greases.
NOTE: Disassemble exercising care not to lose balls (6 pcs).
8. To remove the cage from the inner race, turn the cage by a half pitch to the track groove of the inner race and shift the cage.
9. Remove snap ring, which fixes inner race to shaft, by using pliers.
10. Take out the DOJ inner race.
11. Take off the DOJ cage from shaft and remove DOJ boot.
