
Impreza RS Coupe AWD F4-2.5L SOHC (1999)
4. Gradually supply compressed air via inlet of master cylinder to force piston out.
CAUTION:
^
Piston may jump out from master cylinder.
^
Do not apply excessively high-pressure.
CAUTION:
^
Do not disassemble the piston assembly; otherwise, the spring set value may be changed.
^
Use brake fluid or methanol to wash inside wall of cylinder, pistons and piston cups. Be careful not to damage parts when washing. If methanol
is used for washing, do not dip rubber parts, such as piston cups, in it for more than 30 seconds; otherwise, they may become swelled.
INSPECTION
If any damage, deformation, wear, swelling, rust, and other faults are found on the primary piston assembly, secondary piston assembly, supply valve
stopper, or gasket, replace the faulty part.
CAUTION:
^
The primary and secondary pistons must be replaced as complete assemblies.
^
The service limit of the clearance between each piston and the master cylinder inner dia. is 0.11 mm (0.0043 inch).
^
When handling parts, be extremely careful not to damage or scratch the parts, or let any foreign matter get on them.
ASSEMBLY
Precautions For Assembling
1. When assembling, be sure to use recommended brake fluid.
2. Ensure that the inside wall of cylinder, pistons, and piston cups are free from dirt when assembling.
3. Be extremely careful not to damage, scratch, or dent cylinder inside wall, pistons, and piston cups.
4. Do not drop parts. Never attempt to use any part that has been dropped accidentally.
Assembling Operation
1. Assembling piston assembly: Apply recommended brake fluid to inside wall of cylinder, and to outer surface of piston assembly, and install piston
assemblies carefully into cylinder.
2. Assemble cylinder pin by pushing in primary piston.
3. Assemble plate and guide assembly.
4. Assemble C-ring.
CAUTION: After assembling, ensure that the C-ring is fitted securely in the ring groove.
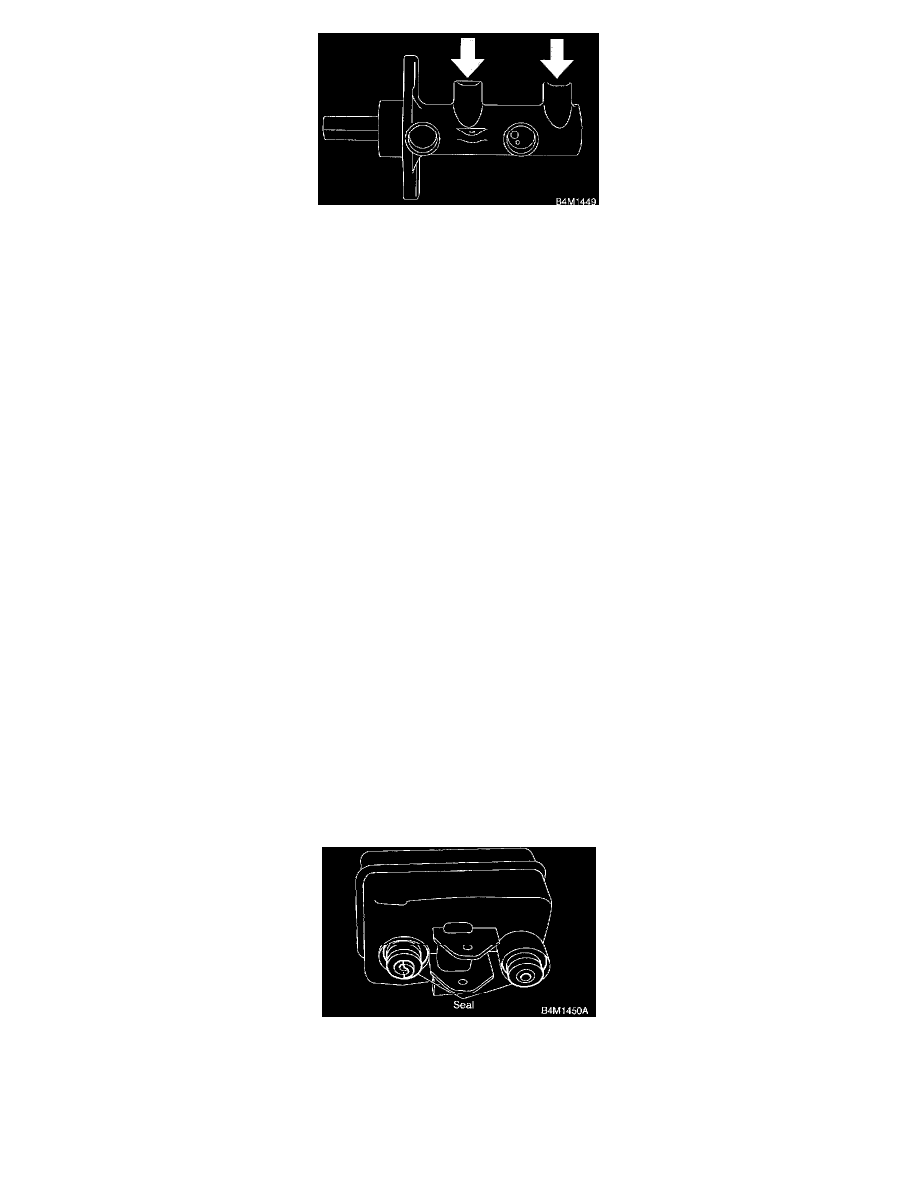
5. Install seal to reservoir tank.
6. Install pin with drift pins which secures reservoir tank to master cylinder.
INSTALLATION
To install the master cylinder to the body, reverse the sequence of removal procedure.
Tightening torque: