Impreza RS Coupe AWD F4-2.5L SOHC (1999)

PART NUMBER
DESCRIPTION
DEALER COST
S0A635062
LOCTITE GEL
N/C
S0A635063
NOX RUST
N/C
S0A635064
LOCTITE PLUNGER
N/C
The Loctite Gel and Nox Rust spray sent free of charge will repair approximately 250 vehicles. Be sure to follow instructions on the products for proper
use and storage. If additional quantities are required you should contact your Parts Information Coordinators or Parts Expeditors as required.
SERVICE PROCEDURE
1.
Set the vehicle on a lift for repair.
2.
Open the hood and disconnect the front 02 sensor connector.
3.
Raise the vehicle and disconnect the rear 02 sensor connector.
Note:
Do not start engine with the 02 sensors disconnected, otherwise a DTC will be set.
4.
Remove the engine undercover (if applicable).
5.
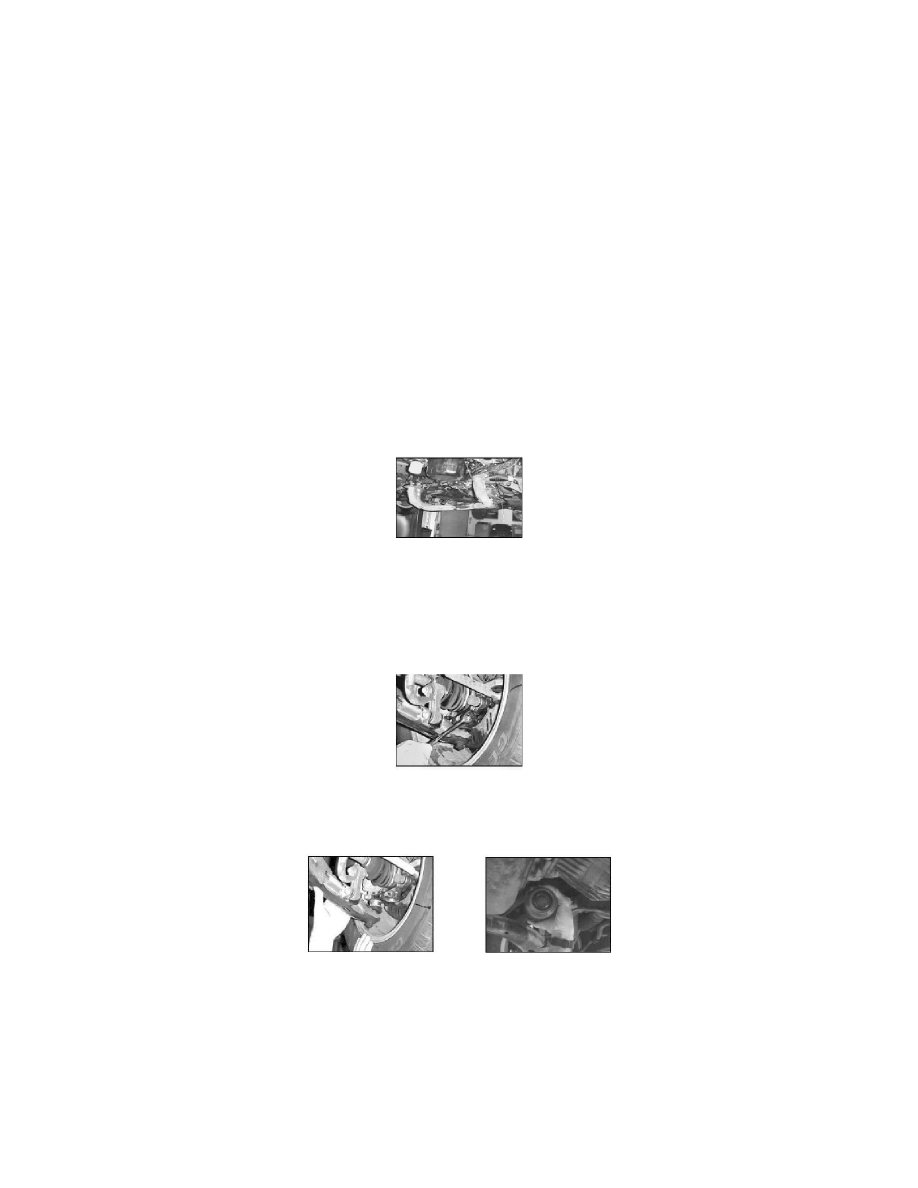
Remove and lower the front exhaust "Y" pipe from the engine and center pipe from the center exhaust hanger bracket, as an assembly.
6.
Support the exhaust system from the left side engine mount using a generic hanger.
Caution:
Maintain clearance between the exhaust pipe flanges. This is to prevent distortion to the flanges and damage to the exhaust donut gasket.
7.
Remove both stabilizer clamp to crossmember mounting brackets.
8.
Remove the balljoint from the knuckle housing.
9.
Remove the SFJ (DOJ) roll pin. (Do not reuse the removed roll pin.)
1O.
Push the knuckle housing outward and remove the axle shaft from the transaxle.
RESEALING PROCEDURE:
1.
Wipe excess grease from exterior parts of the SFJ (DOJ) prior to using brake cleaner.
NOTE:
Do not clean the grease from inside the SFJ (DOJ). Even if some leakage has already occurred, it is not necessary to remove and/or replace the
existing grease inside the SFJ (DOJ).
