
Impreza WRX F4-2.0L DOHC Turbo (2004)
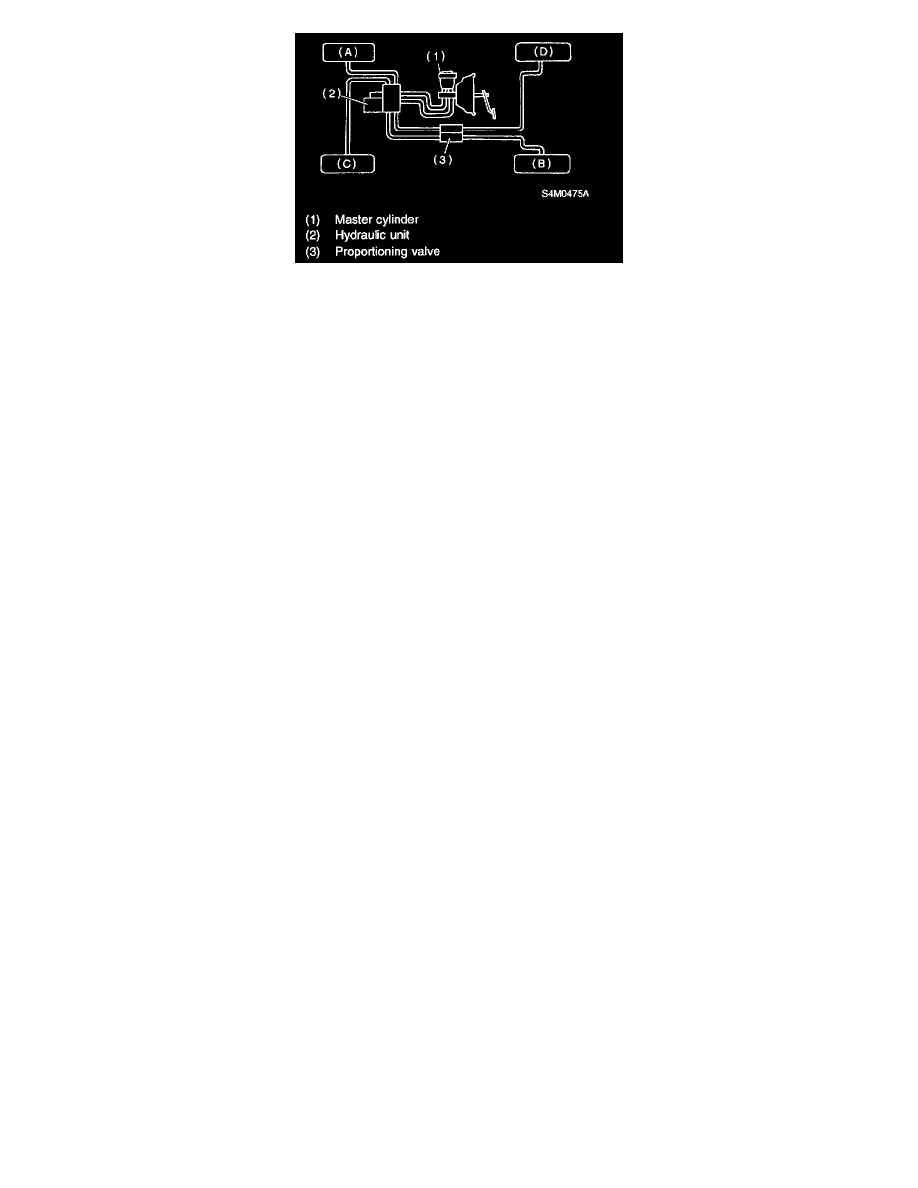
CAUTION: Brake fluid replacement sequence; (A) Front right -> (B) Rear left -> (C) Front left -> (D) Rear right
6) Instruct your co-worker to depress the brake pedal slowly two or three times and then hold it depressed.
7) Loosen the bleeder screw approximately 1/4 turn until a small amount of brake fluid drains into the container, and then quickly tighten the screw.
8) Repeat steps 6) and 7) above until there are no air bubbles in drained brake fluid and new fluid flows through vinyl tube.
NOTE: Add brake fluid as necessary while performing the air bleed operation, in order to prevent the tank from running short of brake fluid.
9) After completing the bleeding operation, hold the brake pedal depressed and tighten the screw and install bleeder cap.
Tightening torque (Bleeder screw): except 17 inch type: 8 Nm (0.8 kgf-m, 5.8 ft. lbs.) 17 inch type: 20 Nm (2.0 kgf-m, 14.5 ft. lbs.)
10) Bleed air from each wheel cylinder using the same procedures as described in steps 6) through 7) above.
11) Depress the brake pedal with a force of approximately 294 N (30 kgf, 66 lbs.) and hold it there for approximately 20 seconds. At this time check
the pedal to see if it shows any unusual movement.
Visually inspect the bleeder screws and brake pipe joints to make sure that there is no fluid leakage.
12) Install the wheels, and drive vehicle for a short distance between 2 to 3 km (1 to 2 miles) to make sure that brakes are operating properly.