Impreza WRX F4-2.0L DOHC Turbo (2004)

Shifter A/T: Service and Repair
Select Lever
REMOVAL
1) Set the vehicle on the lift.
2) Disconnect the ground terminal from battery.
3) Move the select lever to the "N" position.
4) Lift-up the vehicle.
5) Remove the rear exhaust pipe and muffler.
6) Remove the heat shield cover. (If equipped)
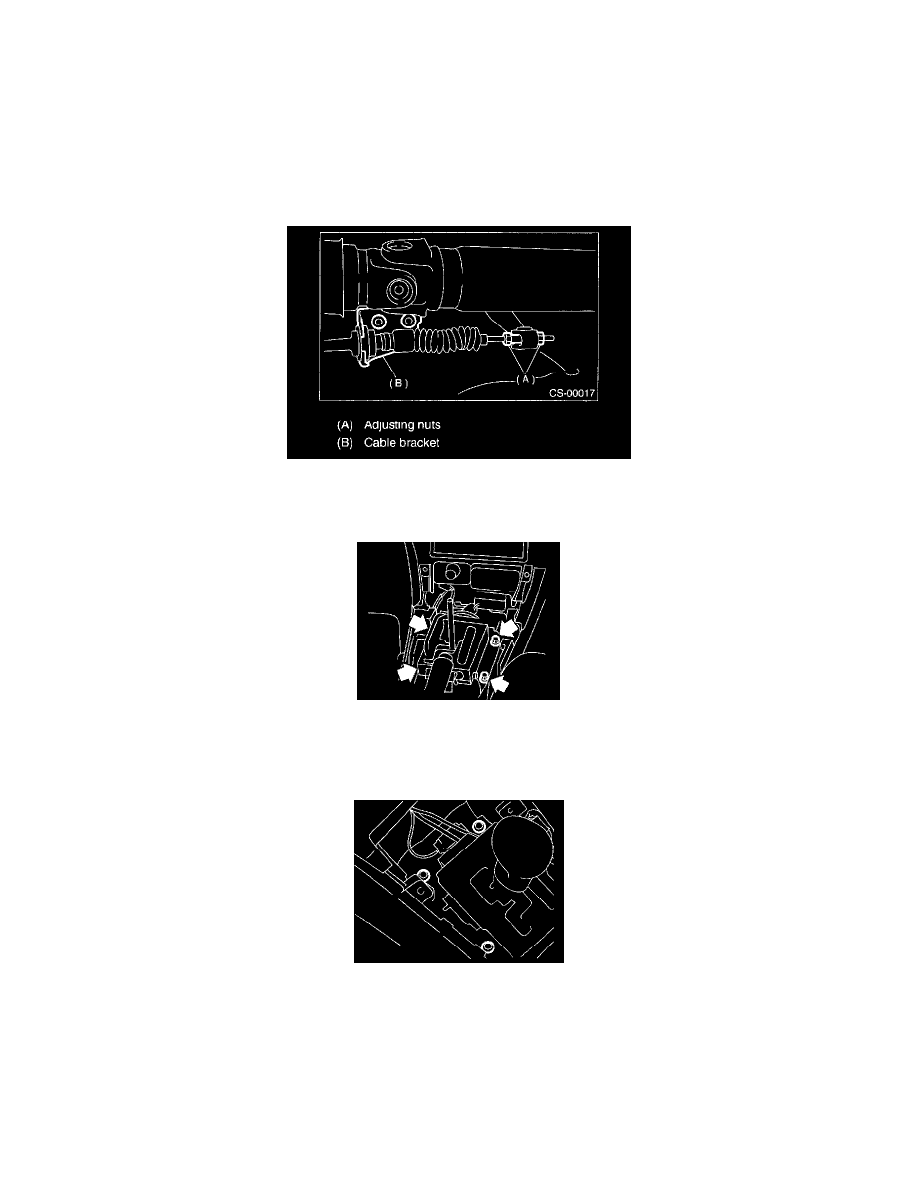
7) Disconnect the cable from select lever and then remove the cable bracket.
8) Lower the vehicle.
9) Remove the console box.
10) Disconnect the connectors, then remove the four bolts to take out the select lever assembly from the body.
INSTALLATION
1) Mount the select lever onto the vehicle body.
2) Tighten the four bolts to install the select lever to the vehicle body, then connect the connector.
Tightening torque: 13 Nm (1.3 kgf-m, 9.4 ft. lbs.)
3) Install the console box.
4) Set the location of select lever at "N" position.
5) Lift-up the vehicle.
6) Set the location of range select lever to "N" position.
7) Insert the thread portion of the other inner cable and into the connector hole of the select lever, and fix the other outer cable end to the bracket.
8) Adjust the select cable position.
9) Install the heat shield cover. (If equipped)
10) Install the rear exhaust pipe and muffler.
