
Impreza WRX STI F4-2.5L DOHC Turbo (2007)
5) Slowly remove the ABSCM upward from H/U.
NOTE: To prevent damaging of coil part, remove the ABSCM straightly from H/U.
6) Ensure there are no dirt or damage on sealing surface of H/U.
CAUTION:
^
Do not clean the ABSCM & H/U with applying compressed air.
^
Do not repair the damages of H/U sealing surface using file or metal scraper. To remove the sealing, use resin scraper. Do not use the chemical
materials (thinner and etc.).
7) Position the coil of new ABSCM to align H/U valve.
8) To prevent deforming of ABSCM housing cover, hold the corner of ABSCM and install it to the H/U without tilting.
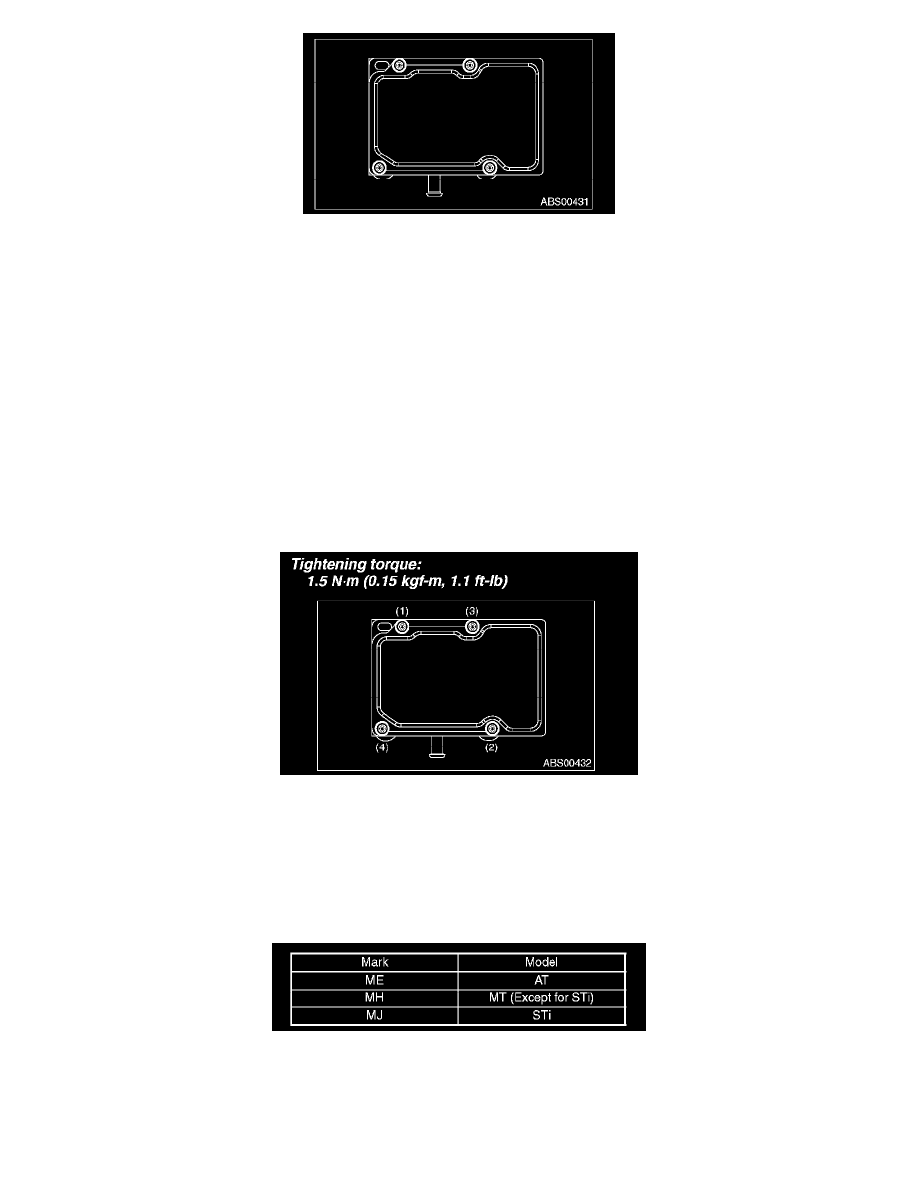
9) Using TORT BIT E5, tighten the screws stepwise in the order of (1) through (4).
CAUTION: Always use new screws.
Tightening torque:1.5 Nm (0.15 kgf-m, 1.1 ft. lbs.)
10) Check that there is no foreign matter in aligning part between ABSCM and H/U.
11) Using TORT BIT E5, tighten the screws stepwise in the order of (1) through (4) again.
Tightening torque: 3 Nm (0.3 kgf-m, 2.2 ft. lbs.)
12) Check that there is no clearance in aligning part between ABSCM and H/U.
13) Install the ABSCM&H/U to vehicle.
INSPECTION
1) Check the connected and fixed condition of connector.