
Impreza WRX STI F4-2.5L DOHC Turbo (2007)
8. Remove the two bolts and adjustable anchor assembly.
CAUTION:
-
Do not drop or apply any impact to the pretensioner.
-
Pretensioner and bracket should be treated as an assembly. Do not attempt to disassemble it.
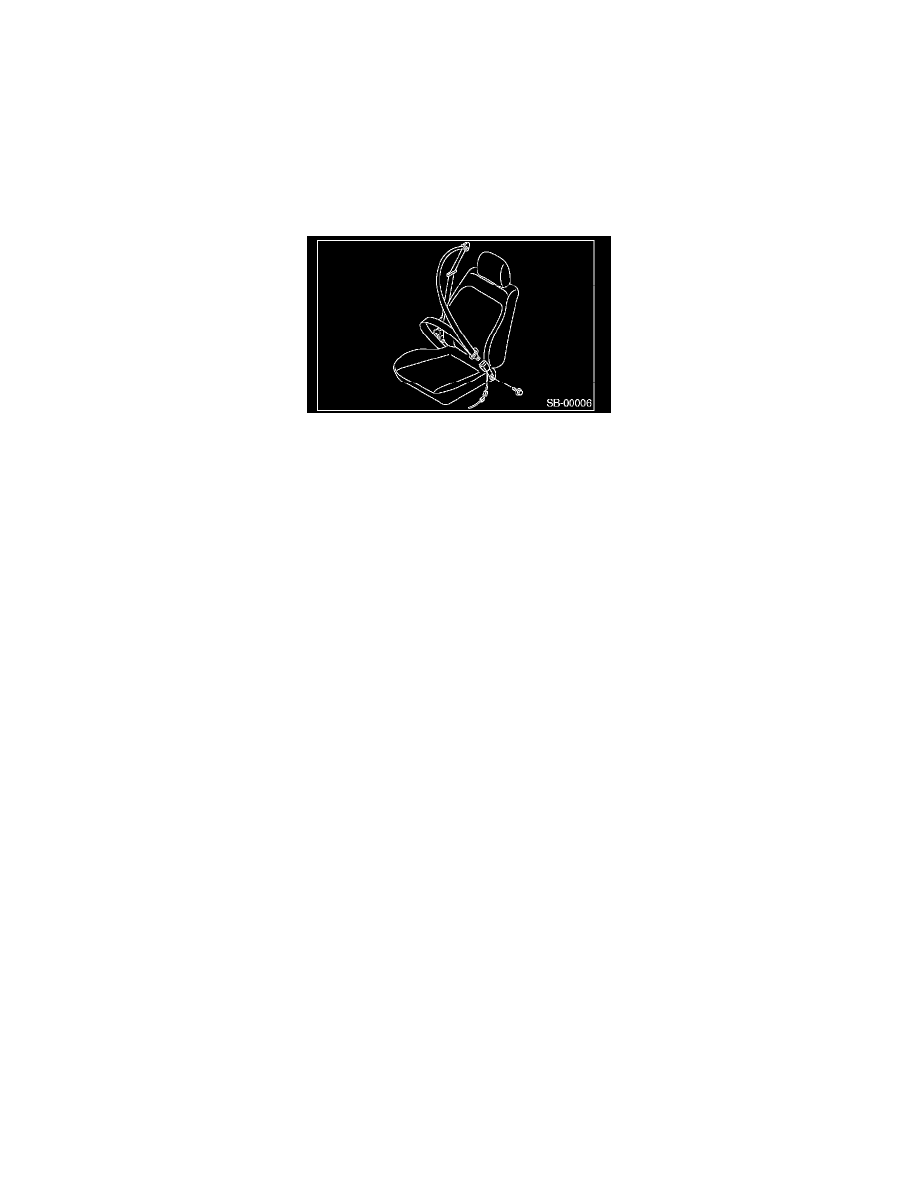
2. INNER SEAT BELT ASSEMBLY
1. Turn the ignition switch to OFF, disconnect the ground cable from battery, and wait for more than 20 seconds before starting work.
2. Remove the console box.
3. Disconnect the seat belt warning light connector under the seat.
4. Remove the clip of harness from seat rail.
5. Remove the anchor bolt, and then remove the inner seat belt assembly.
INSTALLATION
1. OUTER SEAT BELT ASSEMBLY
Install in the reverse order of removal.
CAUTION:
-
Parts of the driver and passenger sides are not identical. Before installation, make sure the correct part is used.
-
Be careful not to twist the seat belts during installation.
2. INNER SEAT BELT ASSEMBLY
Install in the reverse order of removal.
CAUTION:
-
After driver s and passenger s inner seat belt assemblies installation, check that the seat belt buckle switch operates normally using Subaru
Select Monitor on the {Status Data} of <Airbag System>. Improper buckle switch function may cause airbag system malfunction.
-
Inner seat belt assembly harness (1) must be routed securely as shown in the figure, since it may affect the performances of seat position sensor
and occupant detection system.