Impreza WRX STI F4-2.5L DOHC Turbo (2007)

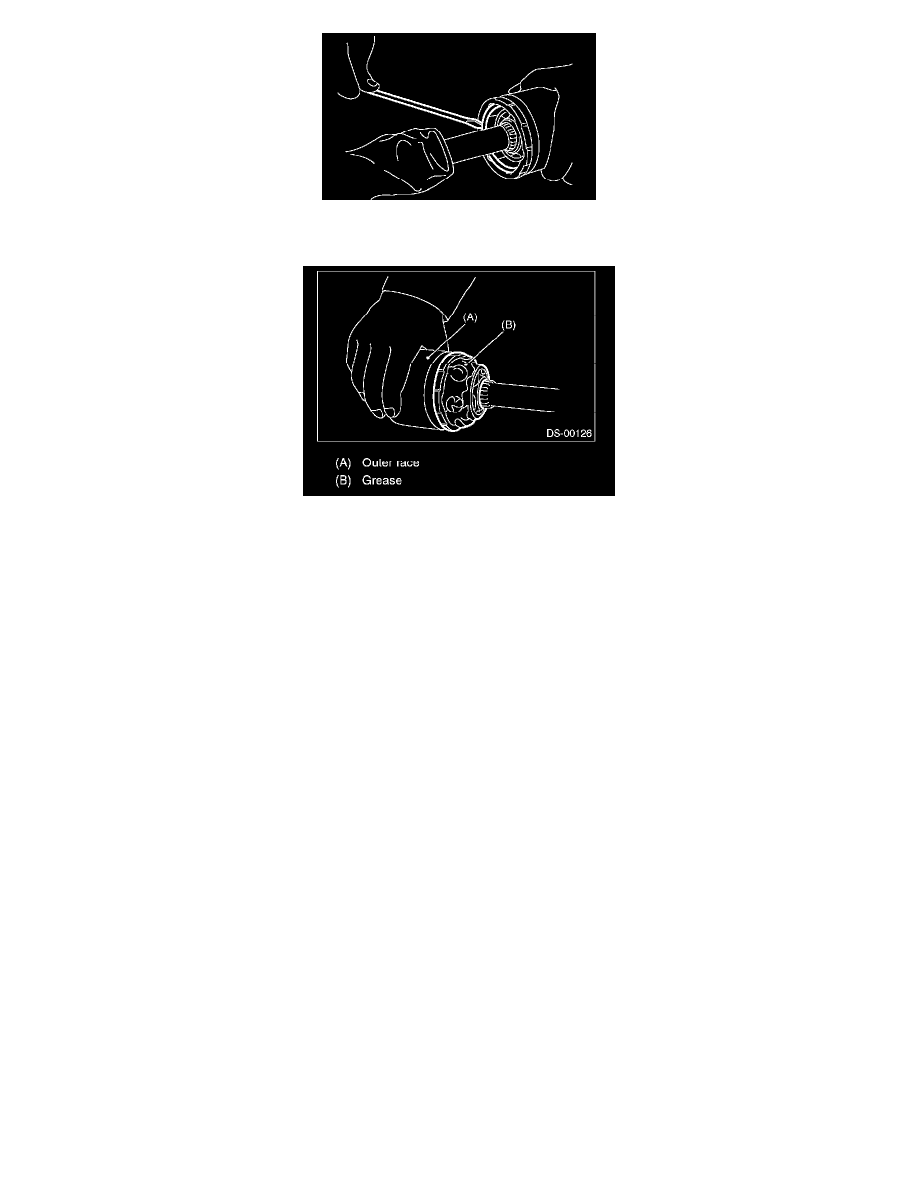
5) Pry and remove the round circlip located at neck of DOJ outer race with a screwdriver.
6) Take out the DOJ outer race from shaft assembly.
7) Wipe off the grease, and then take out the balls.
NOTE:
^
The grease is a special grease (grease for constant velocity joint). Do not confuse with other greases.
^
Disassemble with exercising care not to lose balls (6 pcs).
8) To remove the cage from inner race, turn the cage by a half pitch to the track groove of inner race, and shift the cage.
9) Remove the snap ring, which fixes the inner race to shaft, by using pliers.
10) Take out the DOJ inner race.
11) Take off the DOJ cage from shaft and remove the DOJ boot.
12) Wrap the shaft splines with vinyl tape.
13) Remove the BJ boot in the same procedure as DOJ boot.
NOTE:
Further disassembly of axle is impossible because the BJ cannot be disassembled.
Front Drive Shaft Assembly
ASSEMBLY
EBJ+PTJ TYPE
NOTE:
Use specified grease.
EBJ side: NTG2218-M (Part No. 28395AGO10)
PTJ side: NKG302 (Part No. 28495AE00)
1) Place the EBJ boot and small boot band on EBJ side of shaft.
CAUTION:
Be sure to wrap the shaft splines with vinyl tape to prevent the boot from scratches.
2) Place the drive shaft in a vise.
CAUTION:
Do not place the drive shaft directly in a vise; use wooden blocks.
3) Apply a coat of specified grease [60 to 70 g (2.12 to 2.47 ounces)] to El3J.
4) Apply an even coat of specified grease [20 to 30 g (0.71 to 1.06 ounces)] to entire inner surface of boot. Also apply grease to shaft.
