
Impreza WRX STI F4-2.5L Turbo (2008)
22) Tighten the adjusting screw to the specified torque, then loosen it.
Tightening torque: 25 N-m (2.5 kgf-m, 18.4 ft-lb)
23) Tighten the adjusting screw to the specified torque, then loosen it within 20°.
Tightening torque: 3.9 N-m (0.4 kgf-m, 2.9 ft-lb)
24) Adjust the adjustment screw until the rotational resistance of gearbox is within specifications.
25) Apply liquid gasket to lock nut and install it into adjusting screw. While holding the adjusting screw with wrench, tighten the lock nut using ST.
Liquid gasket. THREE BOND 1141 ST 926230000 SPANNER
Tightening torque (lock nut): 25 N-m (2.5 kgf-m, 18.1 ft-lb)
NOTE: Hold the adjusting screw with a wrench to prevent it from turning while tightening lock nut.
26) Remove the gearbox from ST.
ST1 926200000 STAND
ST2 34199AG000 BOSS D
27) Install the four pipes on gearbox.
(1) Connect the pipes A and B to gearbox.
Tightening torque: Refer to the component parts.
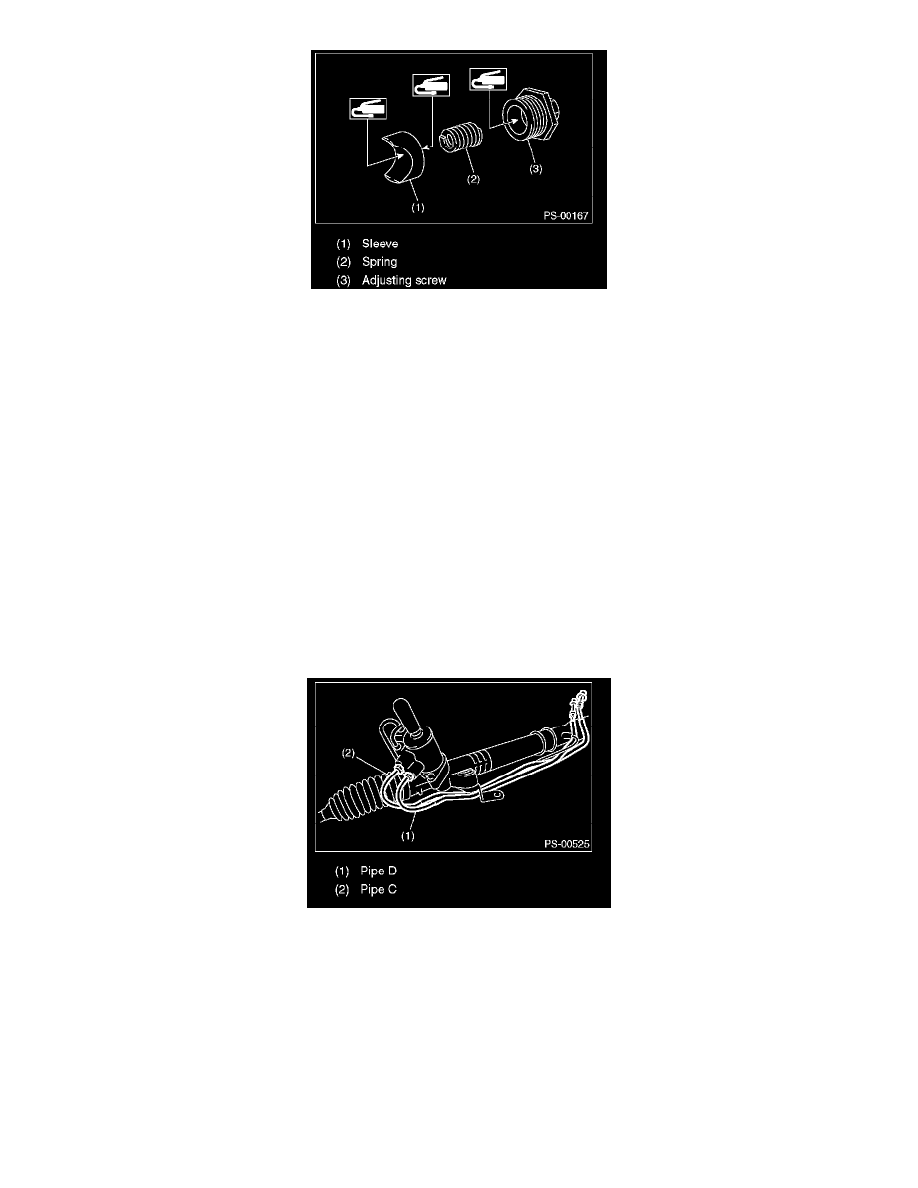
(2) Connect the pipes C and D to gearbox.
Tightening torque:
Pipe D: 37 N-m (3.8 kgf-m, 27.3 ft-lb)
Pipe C: 29 N-m (3.0 kgf-m, 21.4 ft-lb)
INSPECTION
BASIC INSPECTION
1) Clean all the disassembled parts, and check for wear, damage or any other faults, then repair or replace as necessary.
2) When disassembling, check the inside of gearbox for water. If any water is found, carefully check the boot for damage, input shaft dust seal,
adjusting screw and boot clips for poor sealing. If faulty, replace with new parts.