
Impreza WRX STI F4-2.5L Turbo (2008)
Suspension Strut / Shock Absorber: Overhaul
Front Suspension
Front Strut
DISASSEMBLY
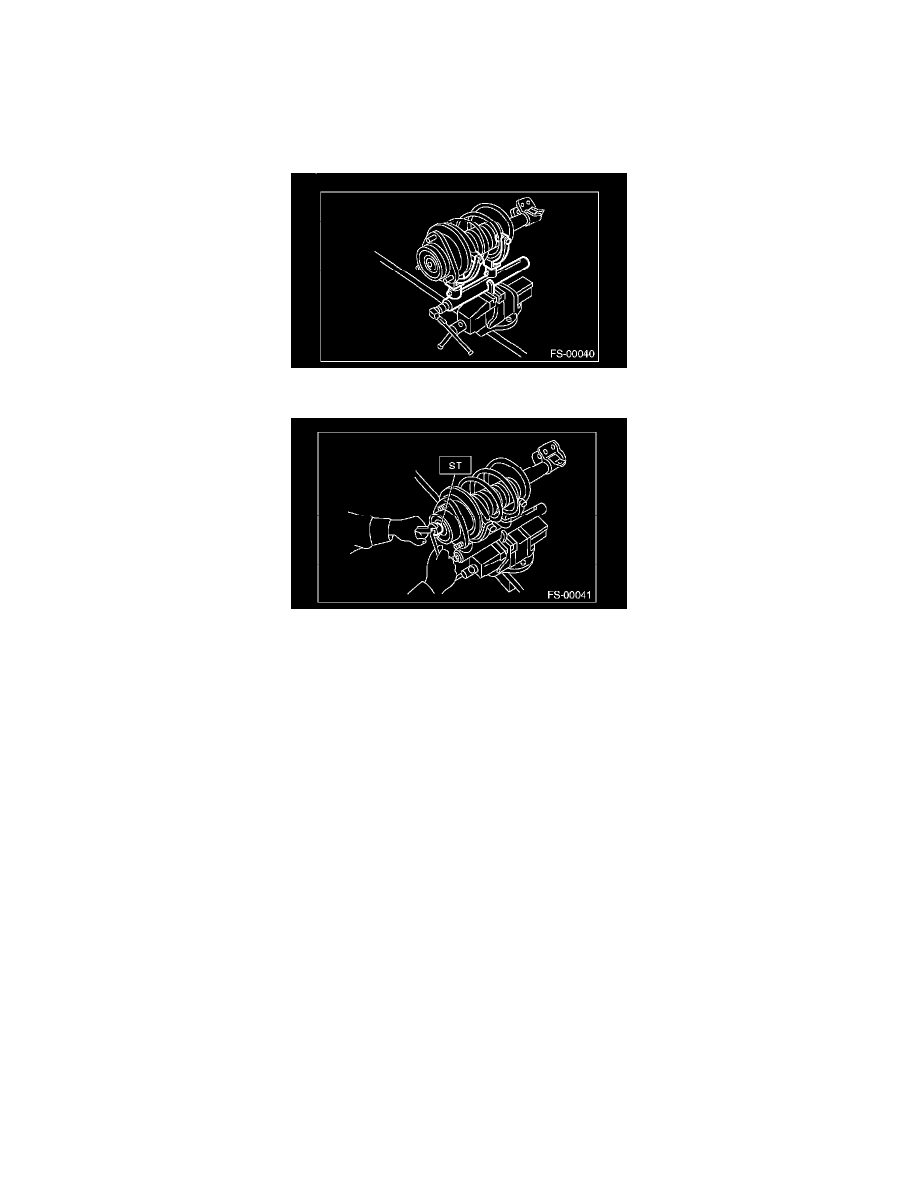
1) Using a coil spring compressor, compress the coil spring.
2) Using the ST, remove the self-locking nut.
ST 20399AG000 STRUT MOUNT SOCKET
3) Remove the strut mount and upper spring seat from strut.
4) Gradually decrease the compression force of compressor, and remove the coil spring.
5) Remove the dust cover.
ASSEMBLY
1) Before installing the coil spring, strut mount, etc. on strut, check for the presence of air in the dampening force generating mechanism of the strut
since air prevents proper dampening force production.
2) Checking for presence of air
(1) Place the strut vertically with the piston rod facing up.
(2) Move the piston rod to the center of its entire stroke.
(3) While holding the piston rod end with fingers, move the rod up and down.
(4) If the piston rod moves 10 mm (0.39 in) or more in the former step, purge air from the strut.
3) Air purging procedure
(1) Place the strut vertically with the piston rod facing up.
(2) Fully extend the piston rod.
(3) With the piston rod fully extended, place the piston rod side down. The strut must stand vertically.
(4) Fully retract the piston rod.
(5) Repeat 3 or 4 times from the step (1).
NOTE: After purging air from the strut, be sure to place the strut with the piston rod facing up. If the strut is laid down for any reason, check for the
entry of air in accordance with "Checking for presence of air"
4) Using a coil spring compressor, compress the coil spring.
NOTE: Make sure that the vertical install direction of the coil spring is as shown in the figure.