
Impreza WRX STI F4-2.5L Turbo (2008)
3) Draw the rear drive shaft into specified position.
CAUTION: Do not hammer drive shaft when installing it.
4) Tighten the axle nut temporarily.
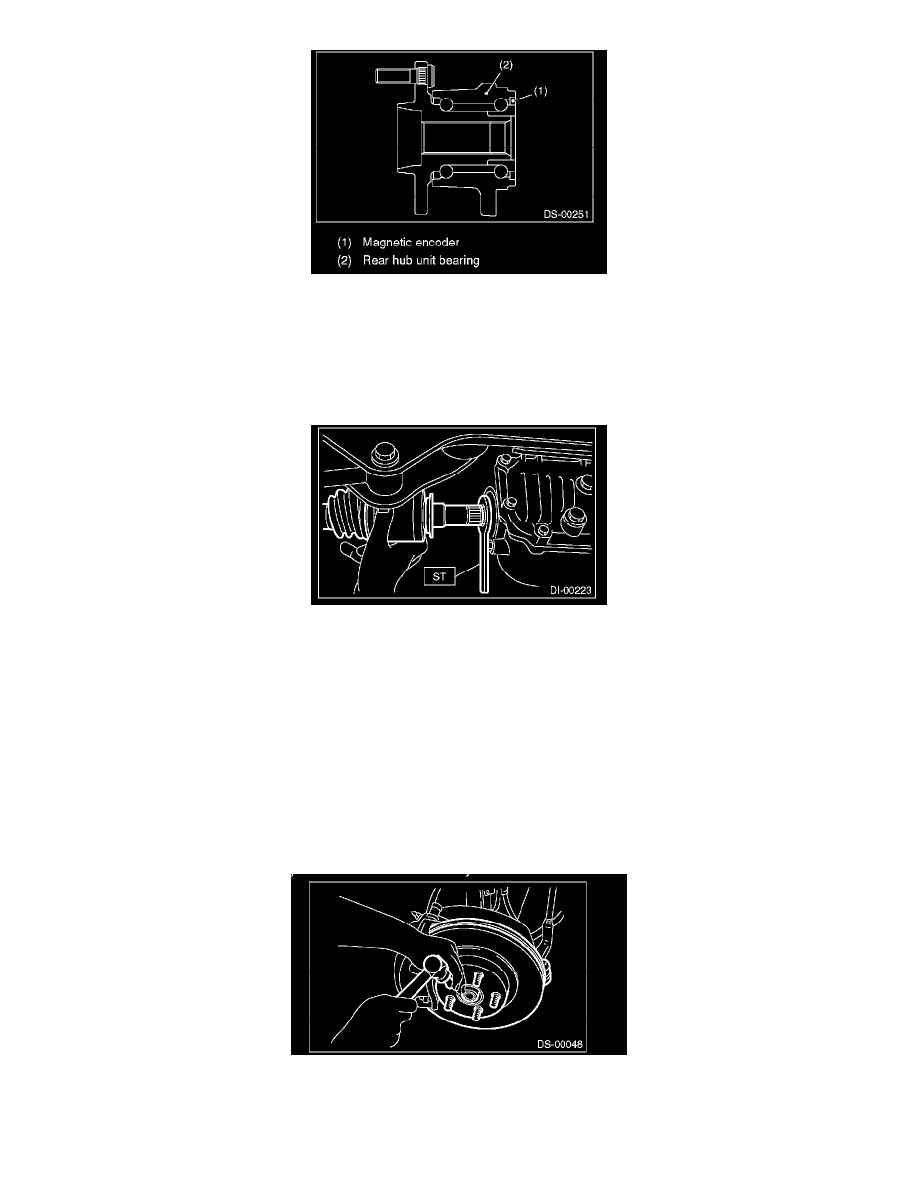
5) Using the ST, install the rear drive shaft to the rear differential.
ST 28099PA090 OIL SEAL PROTECTOR
6) Attach the links to the rear housing and tighten them to the specified torque.
Tightening torque:
Stabilizer link: 45 N-m (4.6 kgf-m, 33.2 ft-lb)
Shock absorber: 120 N-m (12.2 kgf-m, 89 ft-lb)
Rear lateral link: 120 N-m (12.2 kgf-m, 89 ft-lb)
Trailing link: 90 N-m (9.2 kgf-m, 66.4 ft-lb)
7) While pressing the brake pedal, tighten the new axle nuts to the specified torque.
Tightening torque: 190 N-m (19.4 kgf-m, 140 ft-lb)
CAUTION:
^
Do not install wheel and let it touch the ground before tightening the axle nut. Failure to follow this rule may damage the axle bearing.
^
Do not overtighten the nuts as this may damage the axle bearing.
8) Lock the axle nut securely.
9) Fill the differential gear oil.
10) Install the rear wheels.
Tightening torque: 100 N-m (10.2 kgf-m, 73.8 ft-lb)
11) Connect the ground cable to the battery.